
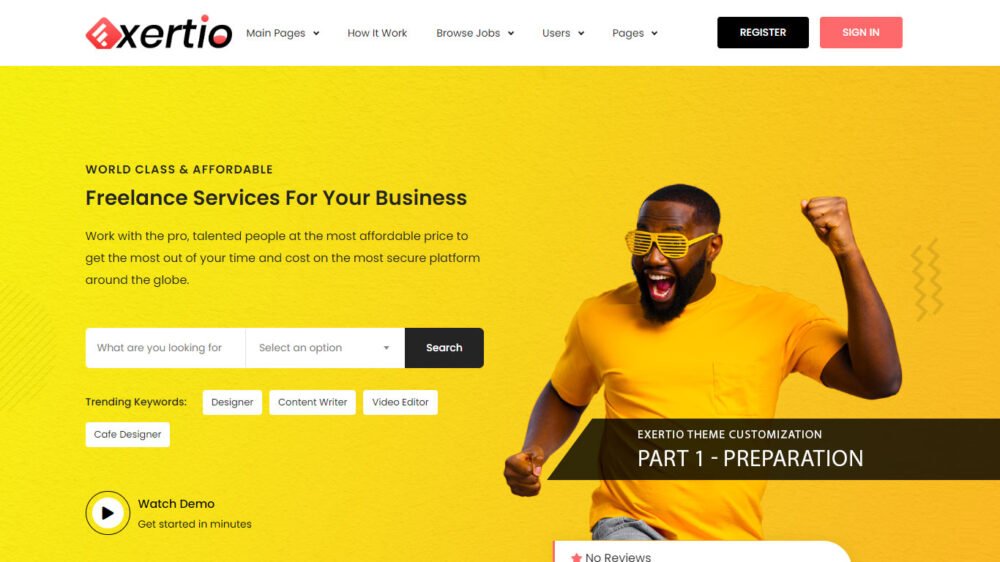
In this series of Exertio Theme Customization, we will go through the process of customizing the Exertio theme. For those who need some background why we are choosing Exertio as a freelance marketplace theme, please read our post on Exertio WordPress Theme Customization. Lets begin our journey. This is Part 1 of this series. You can check out different part of the series using the link below.
- Part 1: Preparation
- Part 2: PayPal & WooCommerce Setup
- Part 3: Plugin & Theme Option Settings (Coming Soon)
- Part 4: Getting to Know Exertio Theme (Coming Soon)
- Part 5: Freelancer (Coming Soon)
- Part 6: Employer (Coming Soon)
- Part 7: Projects (Coming Soon)
- Part 8: Services (Coming Soon)
- Part 9: Packages (Coming Soon)
- Part 10: Disputes (Coming Soon)
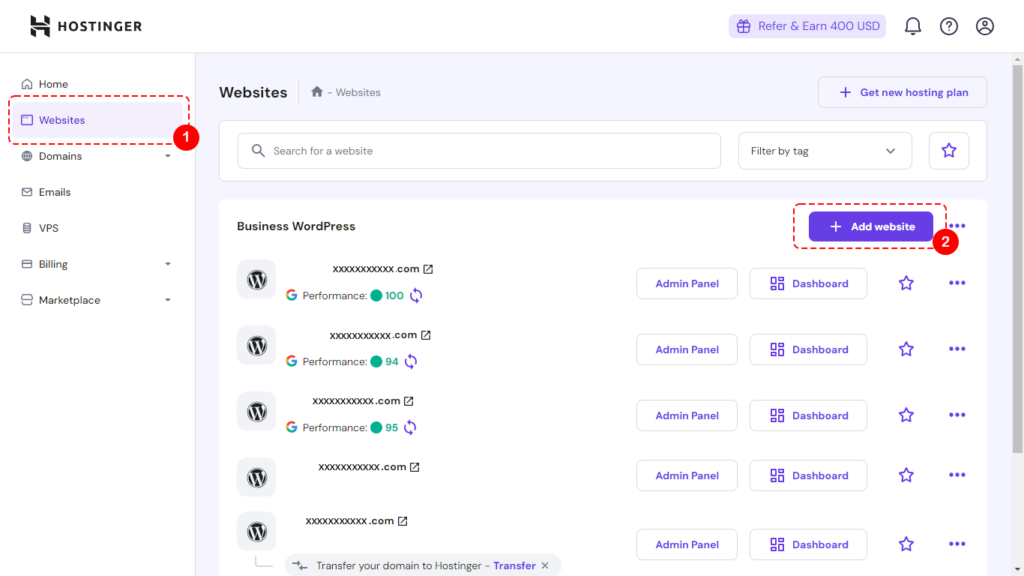
We will begin with the preparation of our development environment and the installation of tools. You can prepare the environment depending on your needs. You can do it locally on your laptop or on your hosting platform. In my case, I choose my development environment on my hosting service provider which is Hostinger. Development on the hosting service provider allows me to test the email functionality and payment via PayPal. I have not try this on local development. I think you should be able to send email and pay via PayPal using local development environment. I am using Hostinger as my hosting provider. You can check out my blog post why I choose Hostinger. There are also other hosting options available.
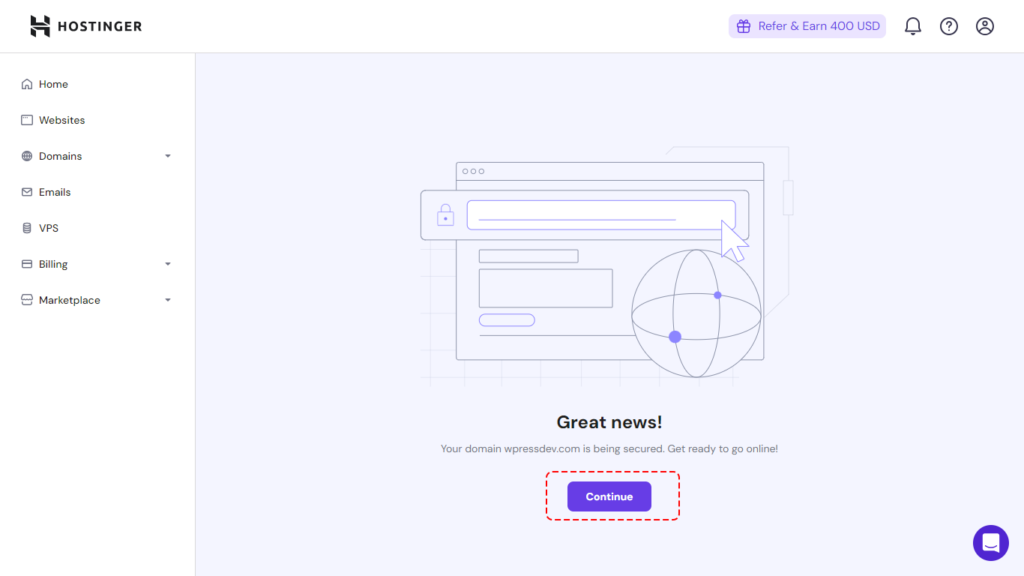
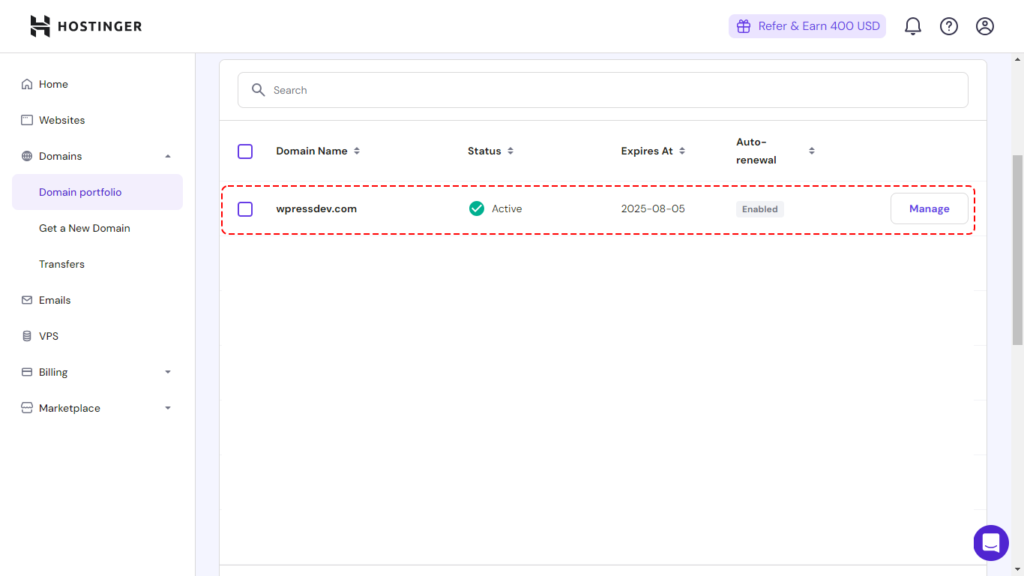
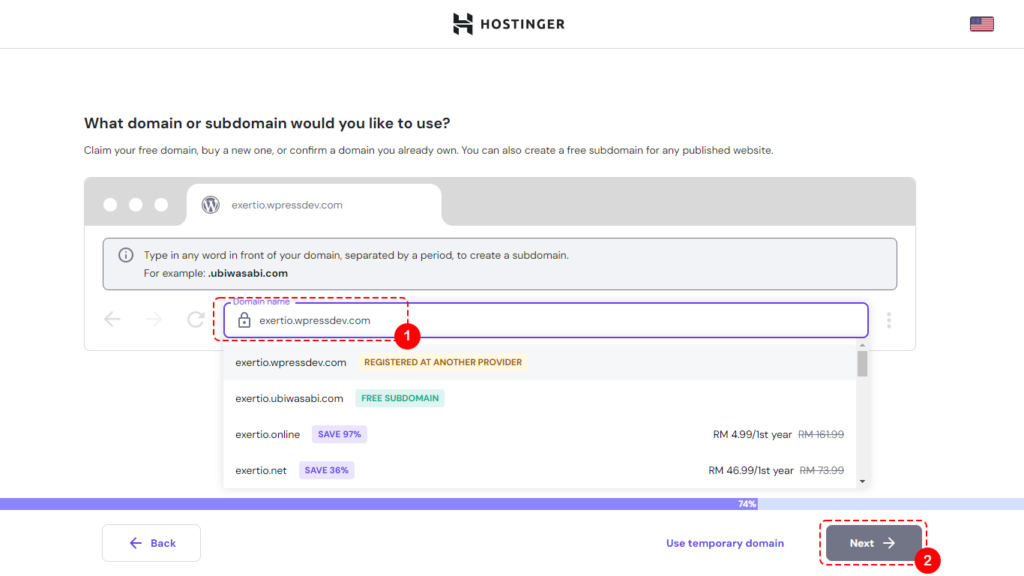
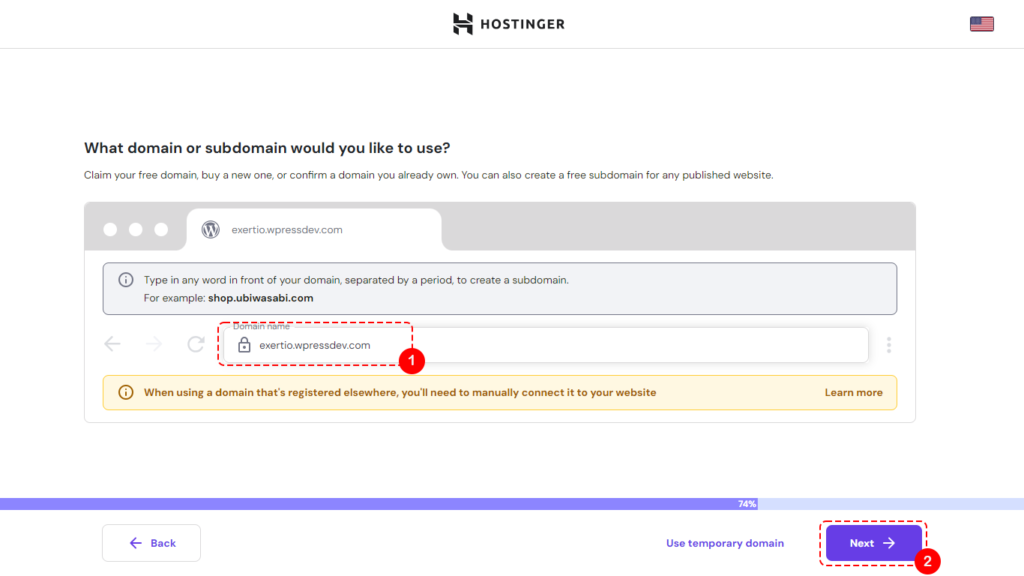
Since I will be customizing the theme before updating the actual domains with the changes, I purchase my own development domain. This domain is use mainly to stage my client projects and make customization before migrating to the actual domain. We will create a subdomain called exertio.<your-dev-domain>.com. Since I am using the Hostinger, the screen capture will show how to do it from the Hostinger panel.
- Purchase Development Domain
- Install WordPress on the Subdomain
- WordPress Configuration
- Create Email Accounts
- Setup Email Application
- Install Email Plugins
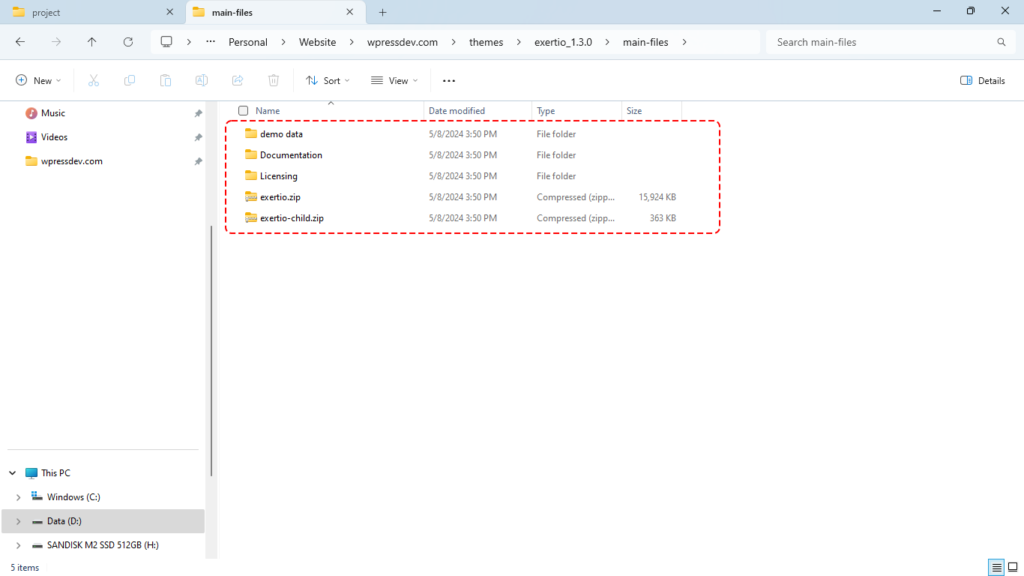
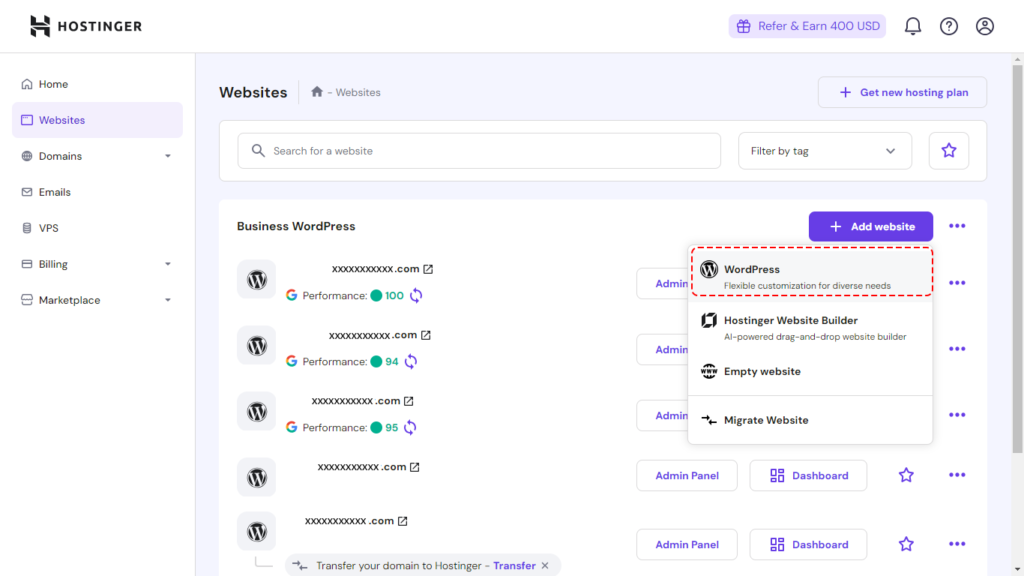
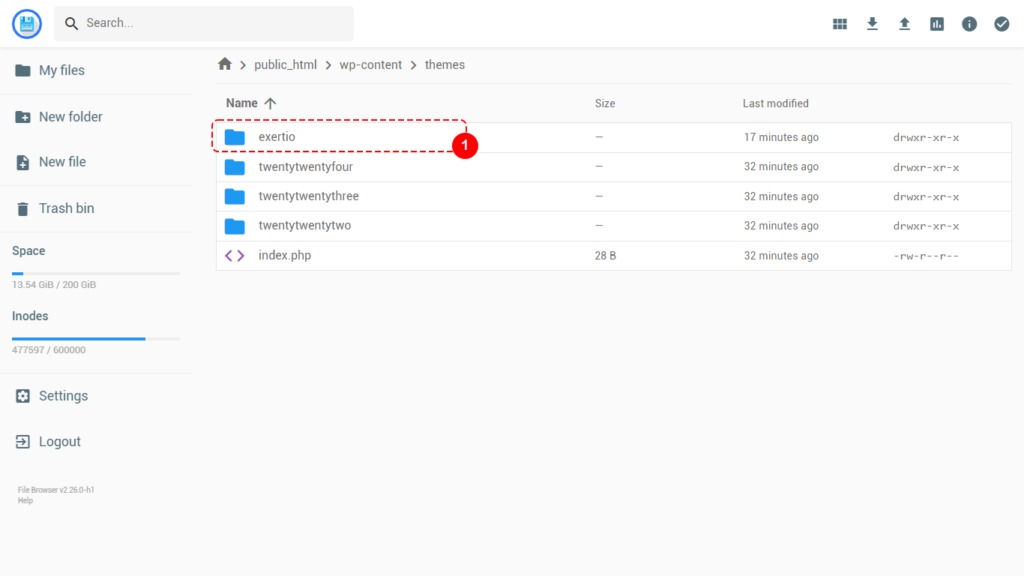
- Install Exertio Theme
- Exertio Theme Configuration
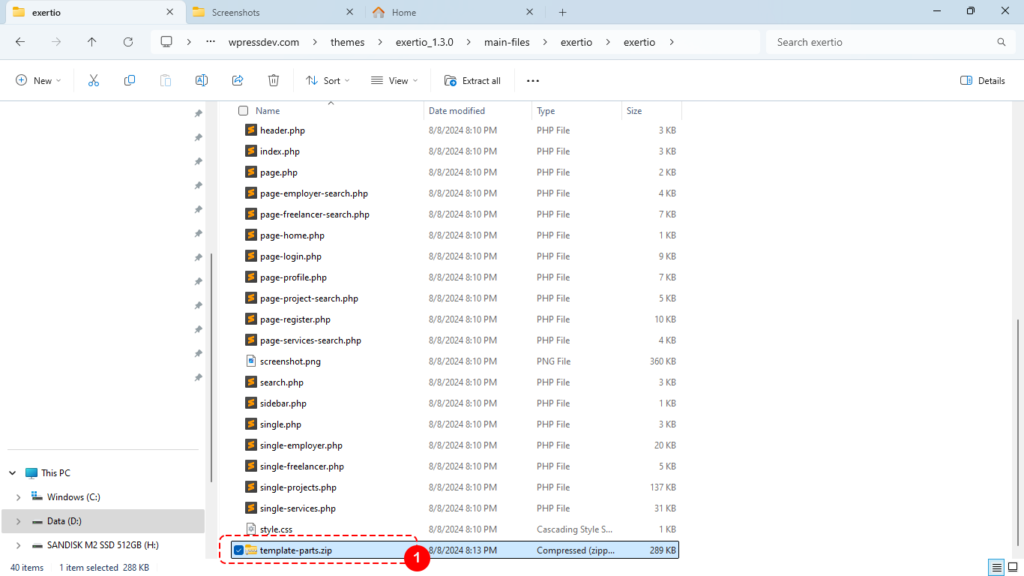
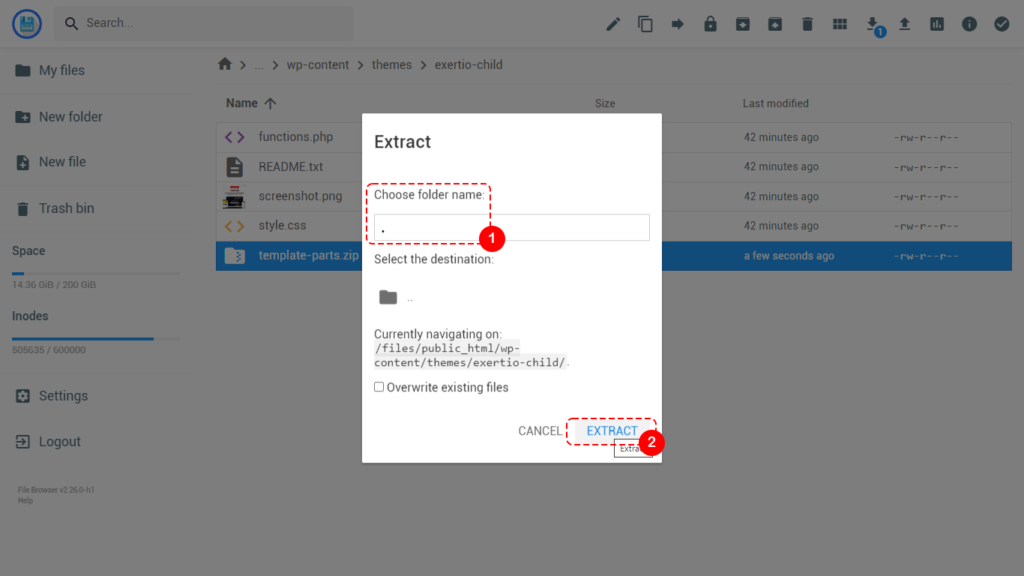
- Install Exertio Child Theme
- Create Users
- Introduction to MySQL
- Install Additional Tools
- Our First Investigation
1. Purchase development domain


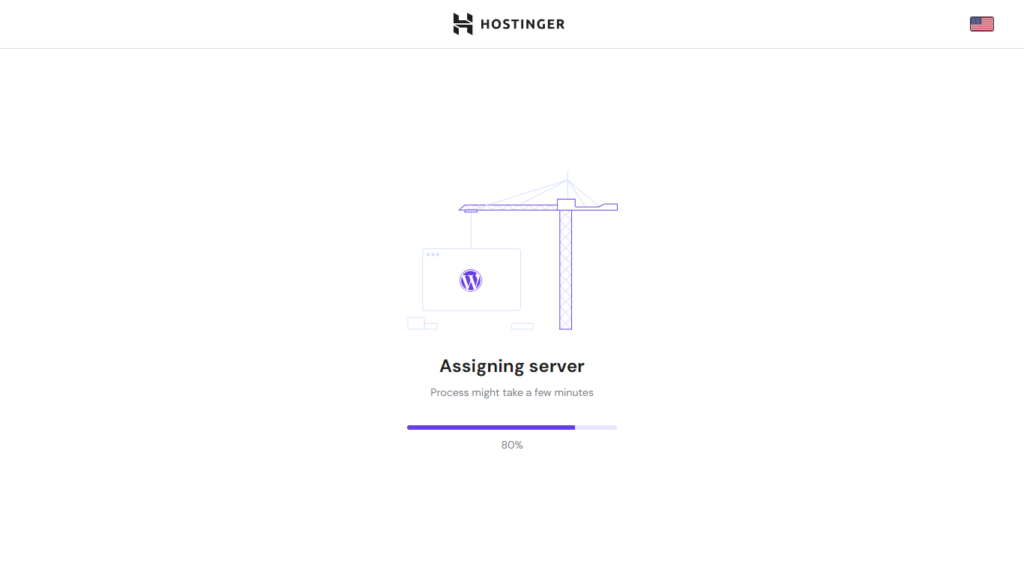
2. Install WordPress on subdomain

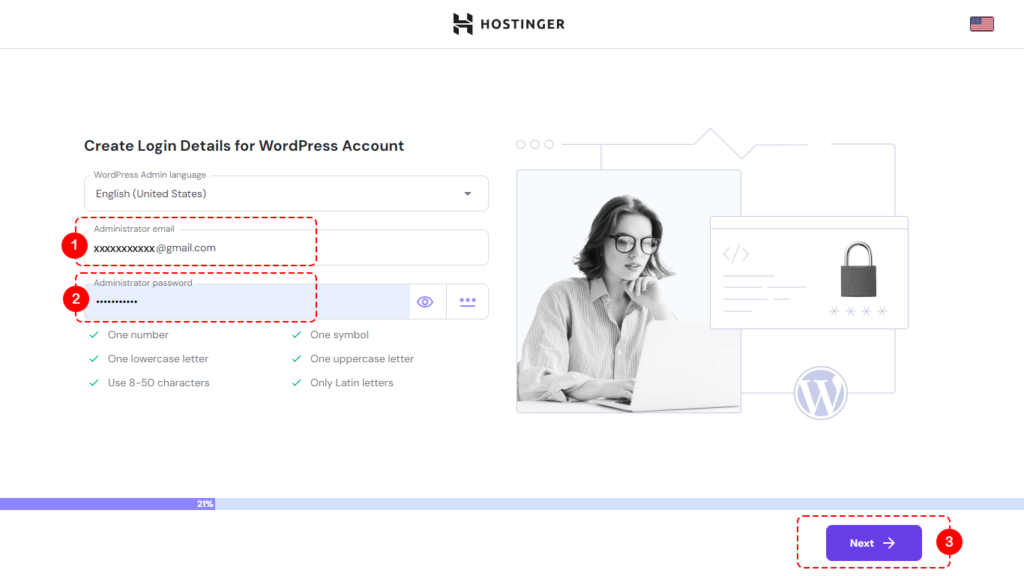
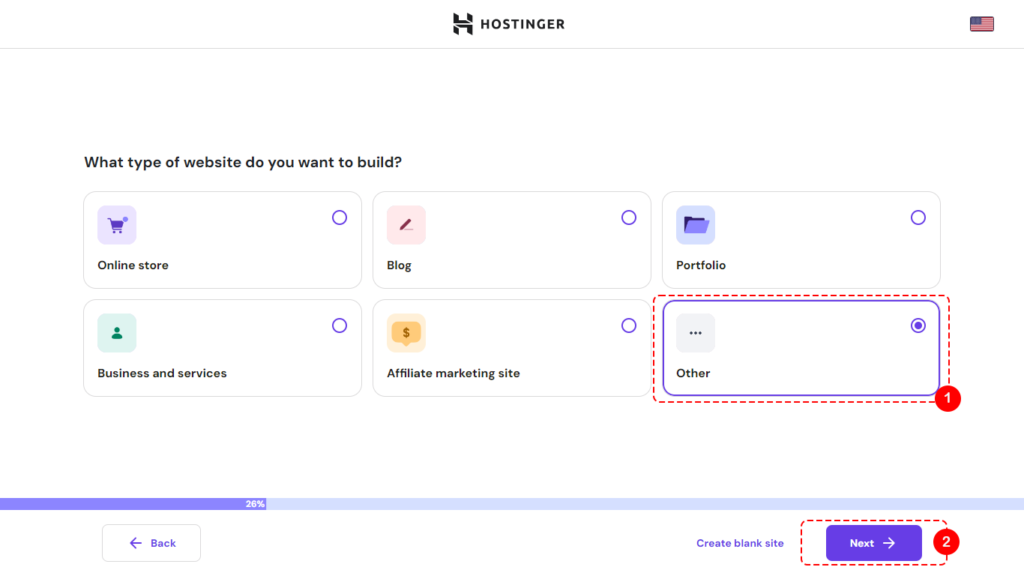
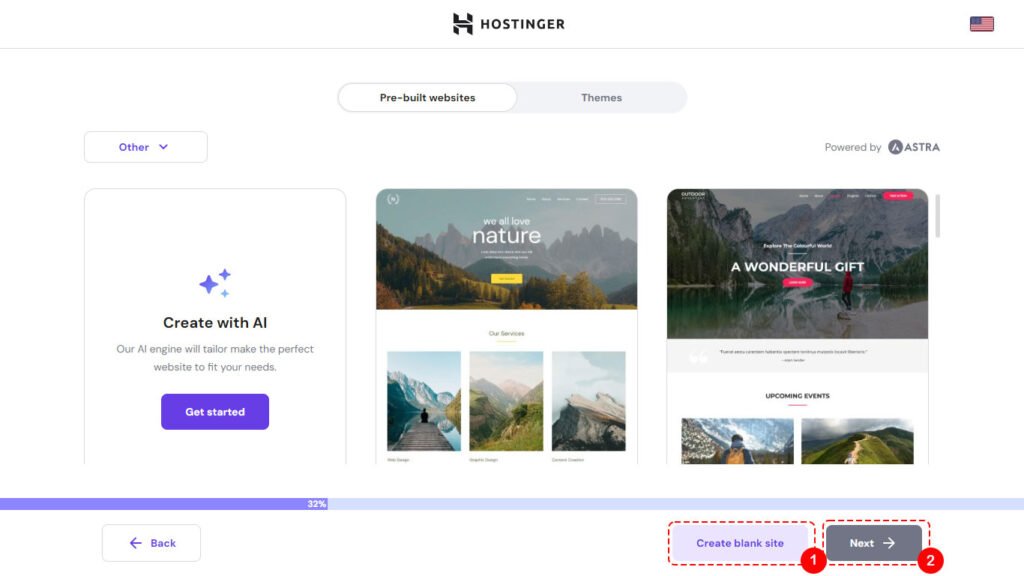

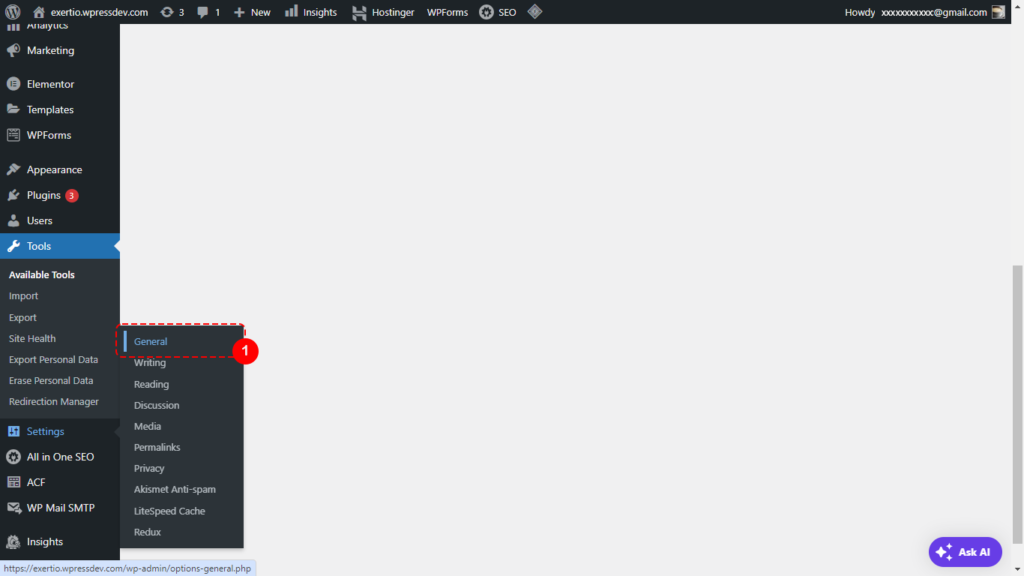
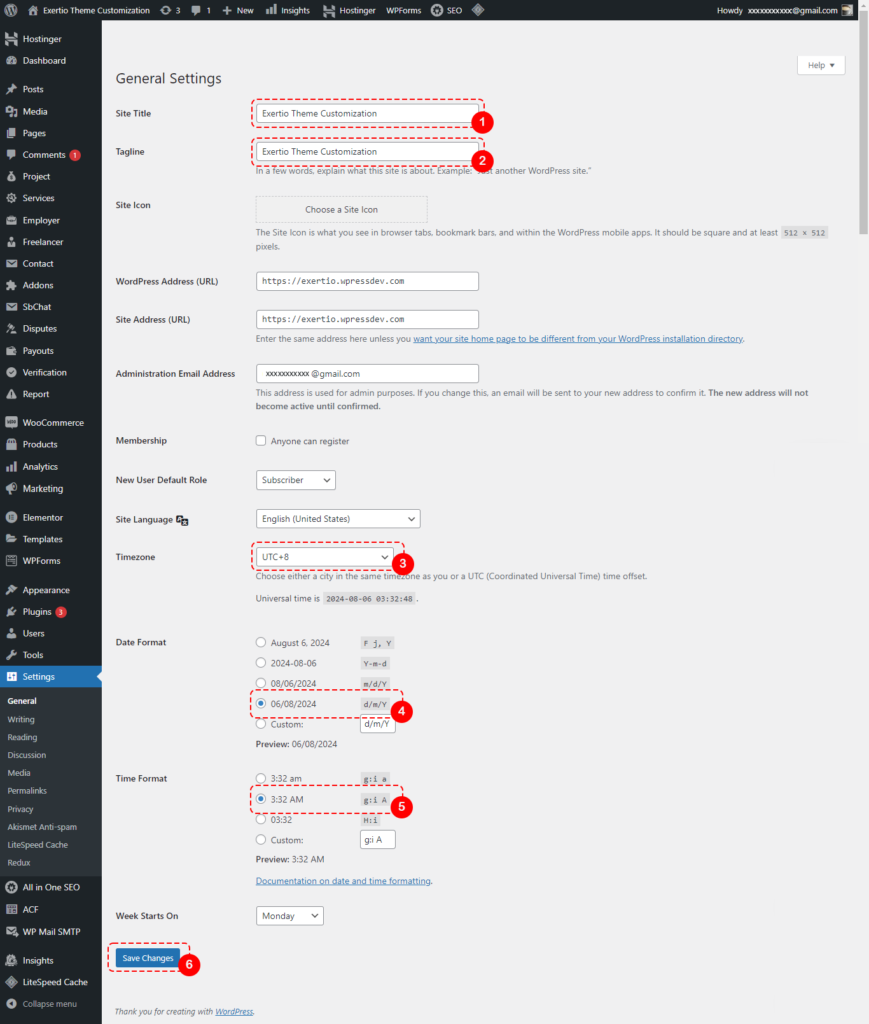
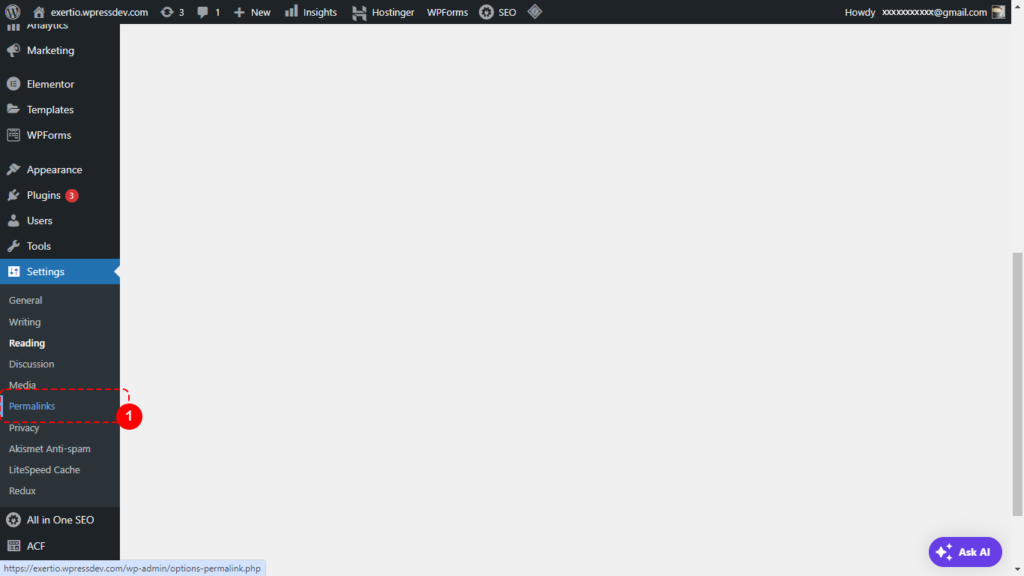
3.WordPress configuration
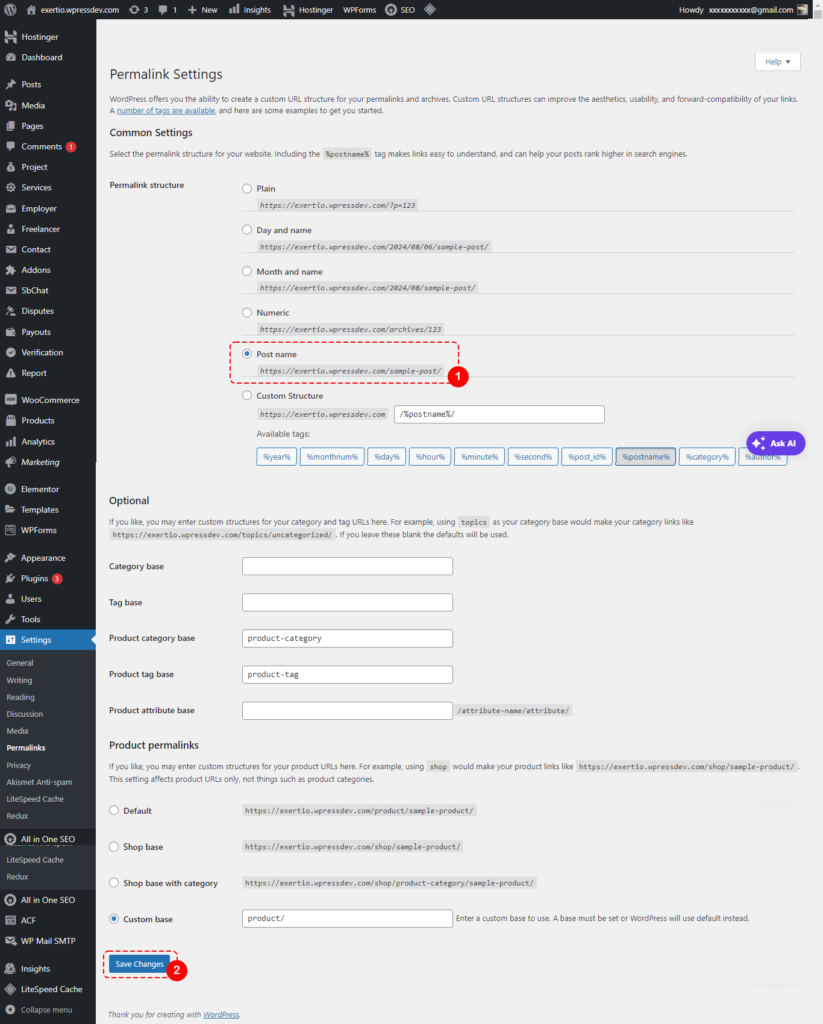
</div
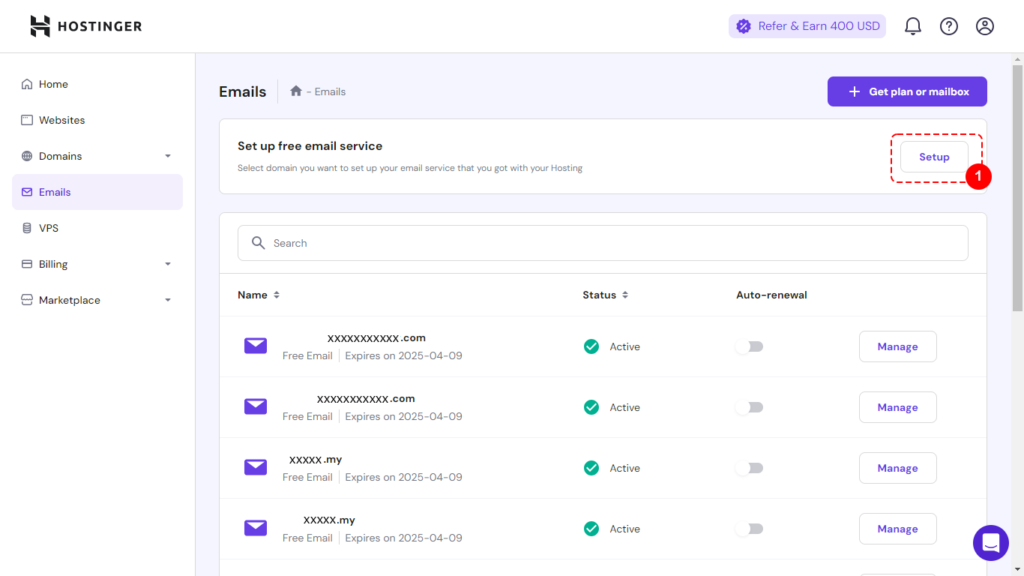
4. Create Email Accounts
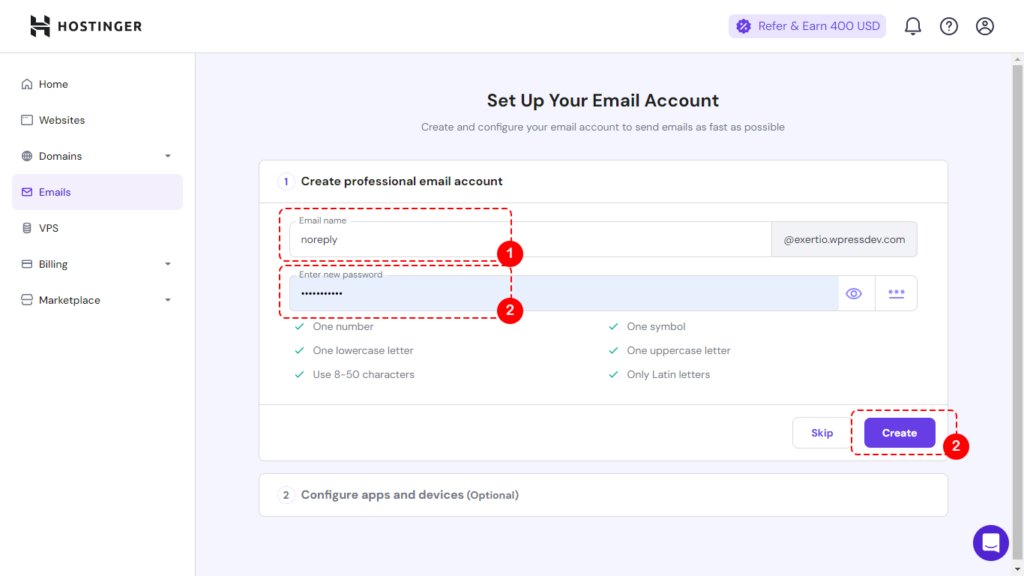
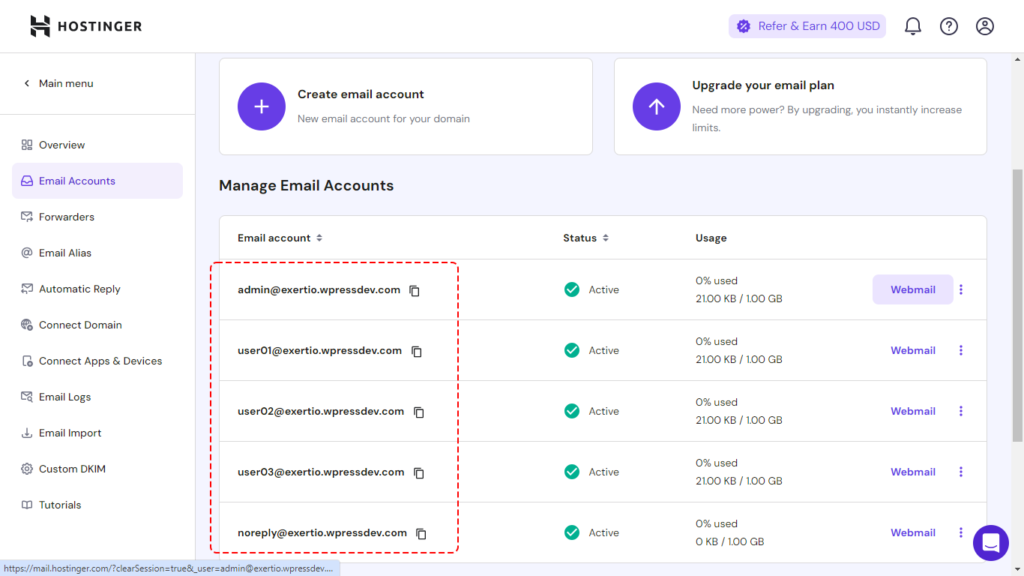
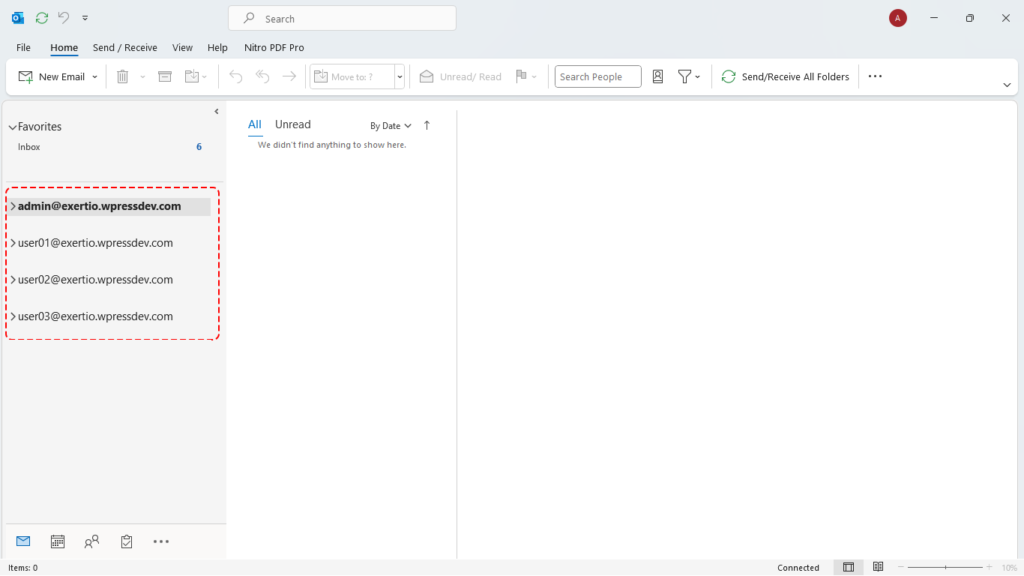
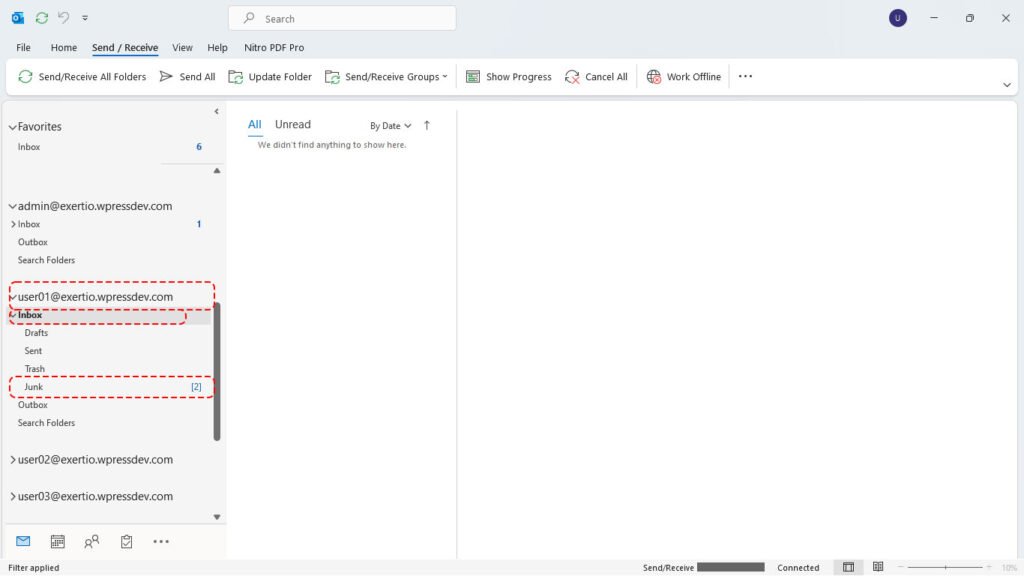
We need to create a few email accounts to test the Exertio theme functionality. These are the email accounts we will create.
- admin@exeryio.wpressdev.com (Use as the admin account to receive money from Employer/Freelancer)
- user01@exertio.wpressdev.com (Employer)
- user02@exertio.wpressdev.com (Freelance #1)
- user03@exertio.wpressdev.com (Freelancer #2)
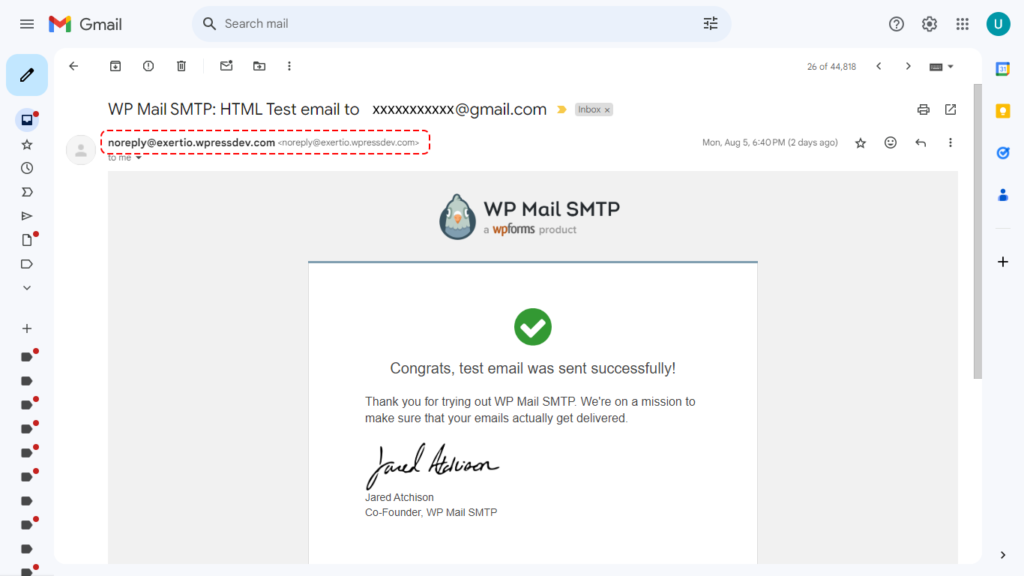
- noreply@exertio.wpressdev.com (Use by WP Mail SMTP plugin to deliver email messages)
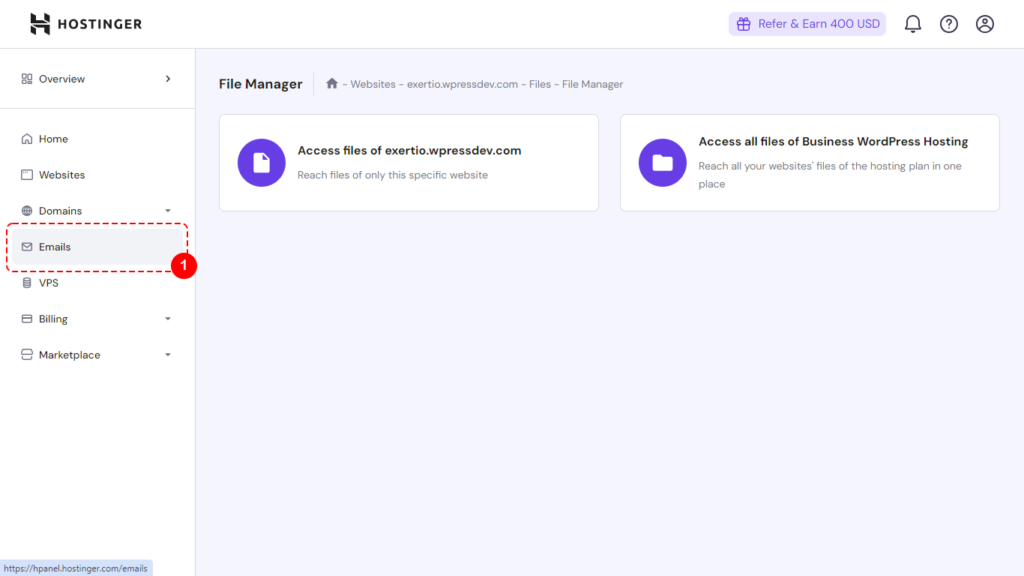
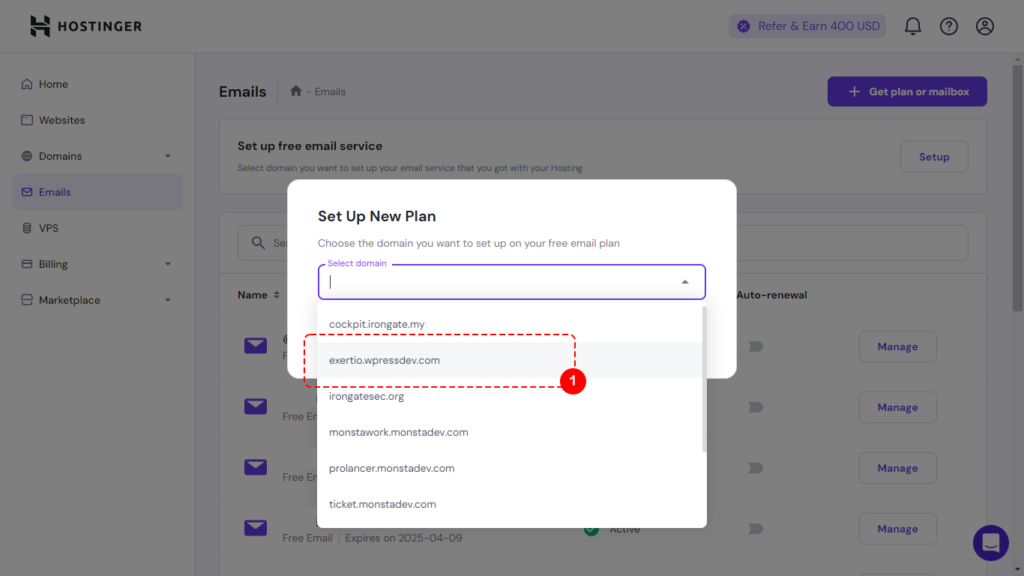
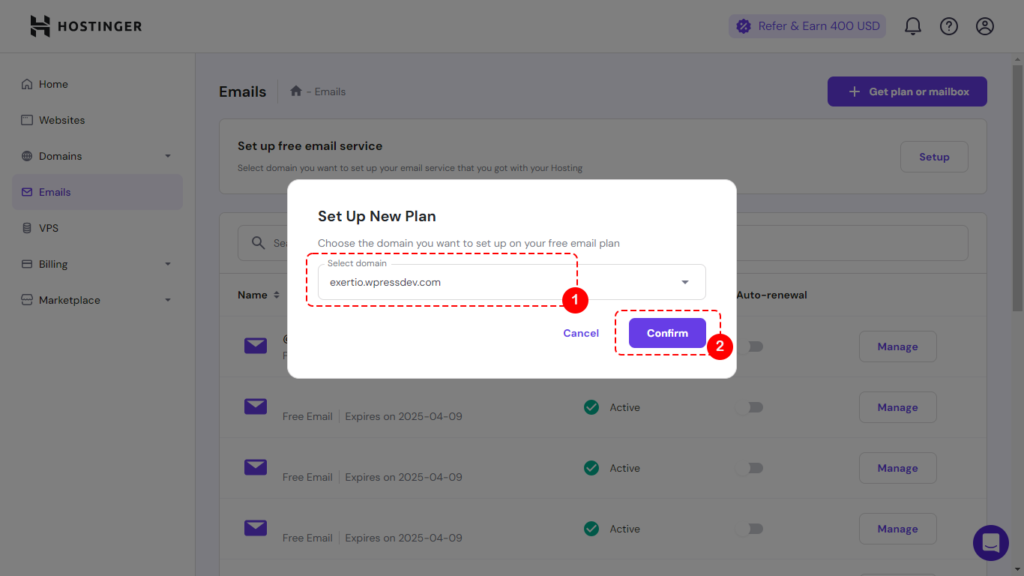
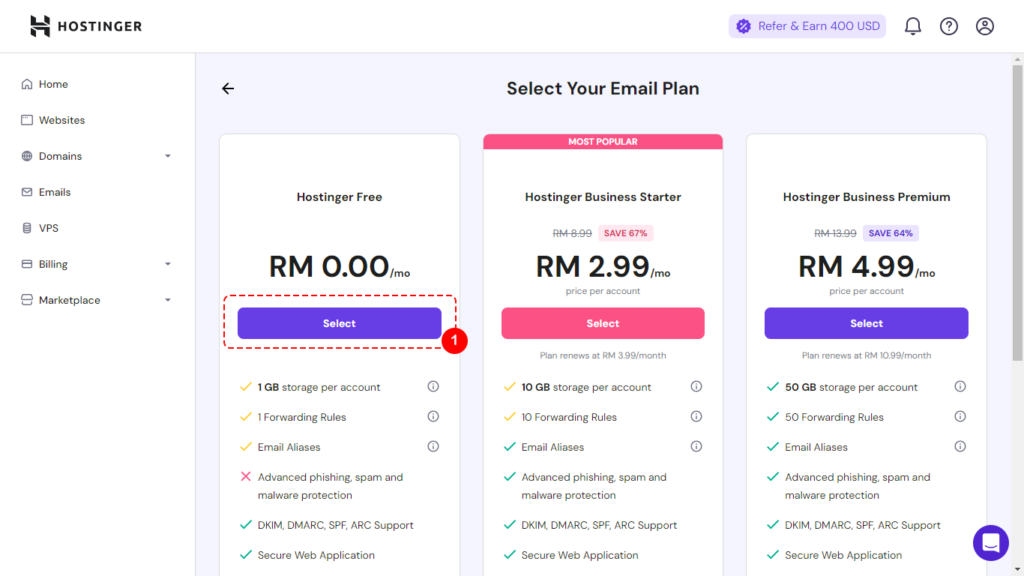
All these account will be created from the Hostinger panel. Click on “Email” menu on the left.


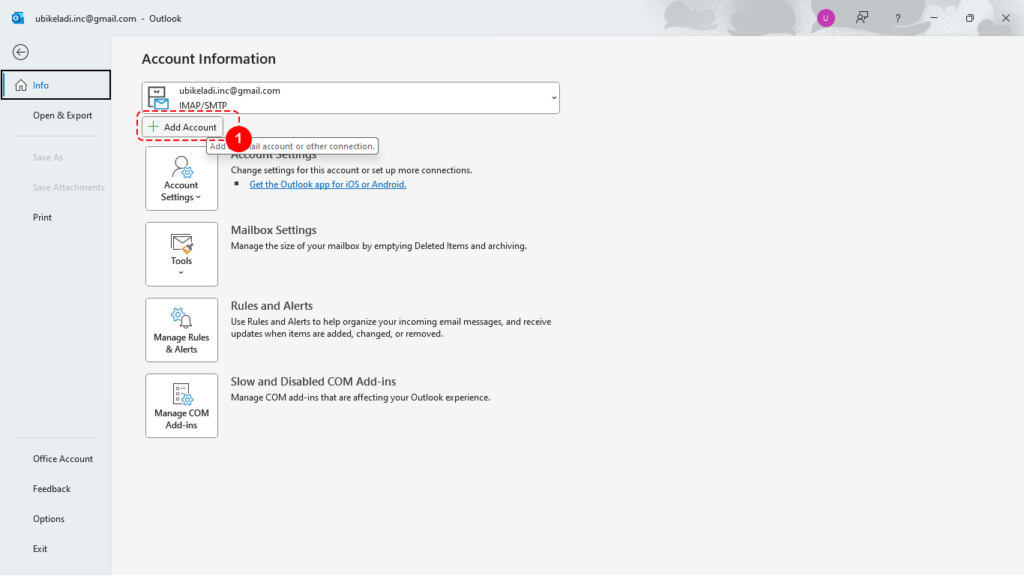
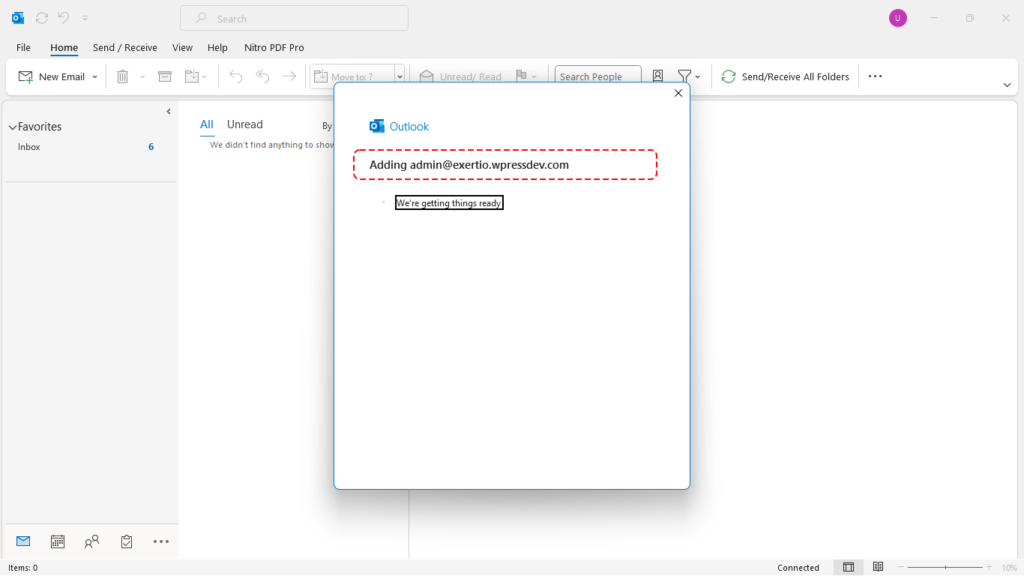
5. Setup Email Application
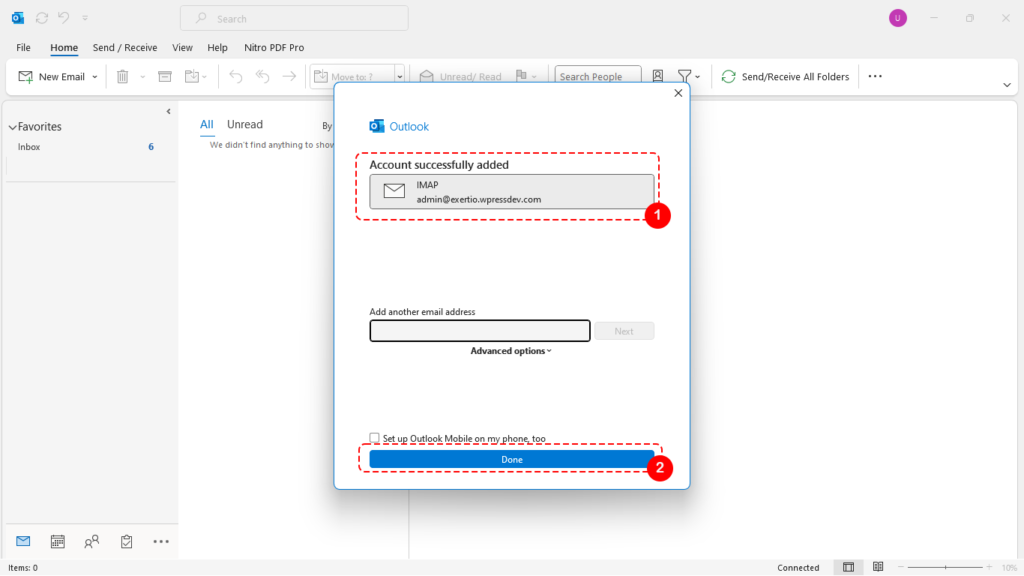
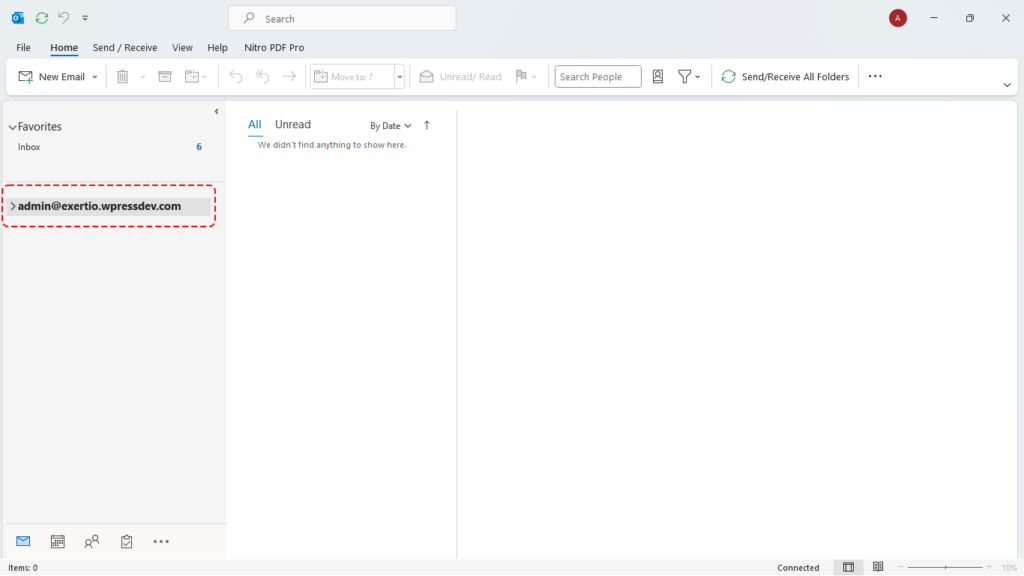
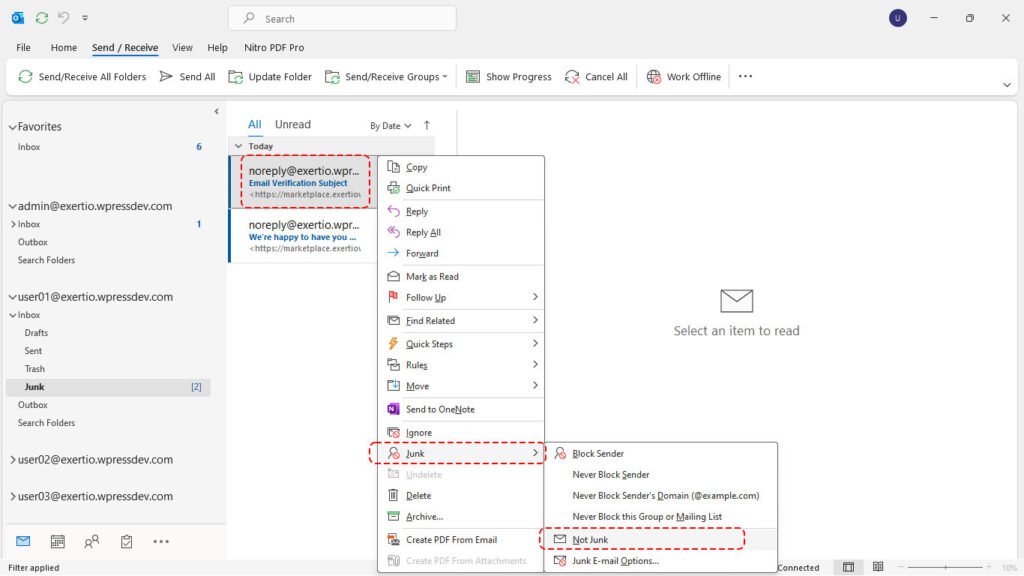
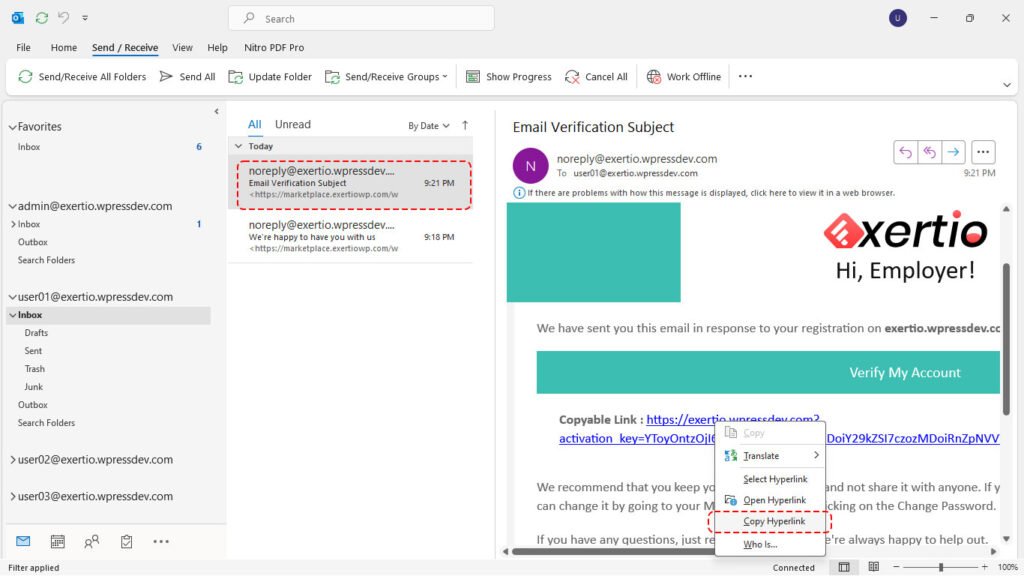
I am using Windows 11 and the default email application is Outlook. If you are using Mac or Linux, select your favorite email application. The configuration should be almost similar. We will setup email accounts for 4 emails we created in step 4 (admin, user01, user02, user03).


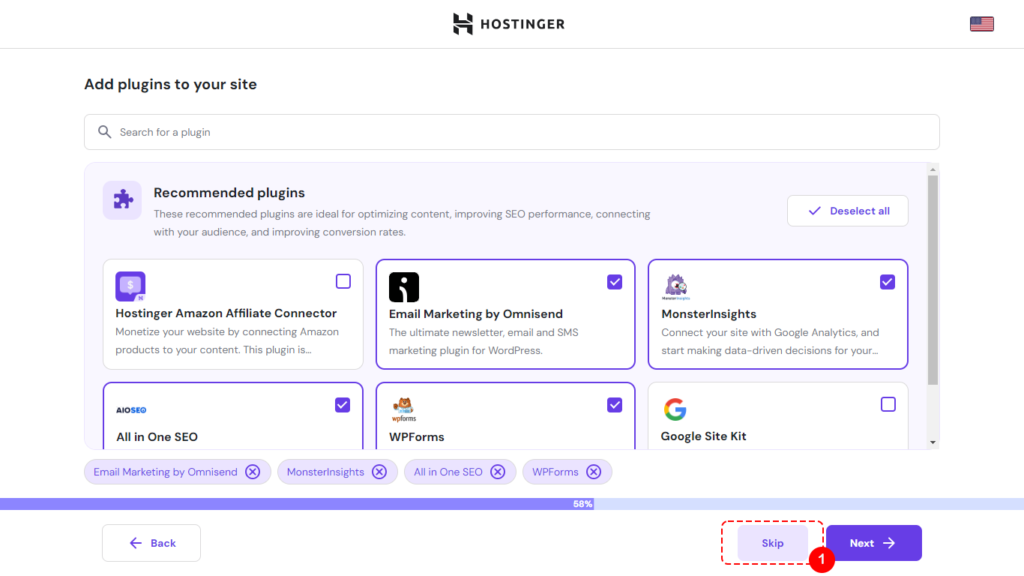
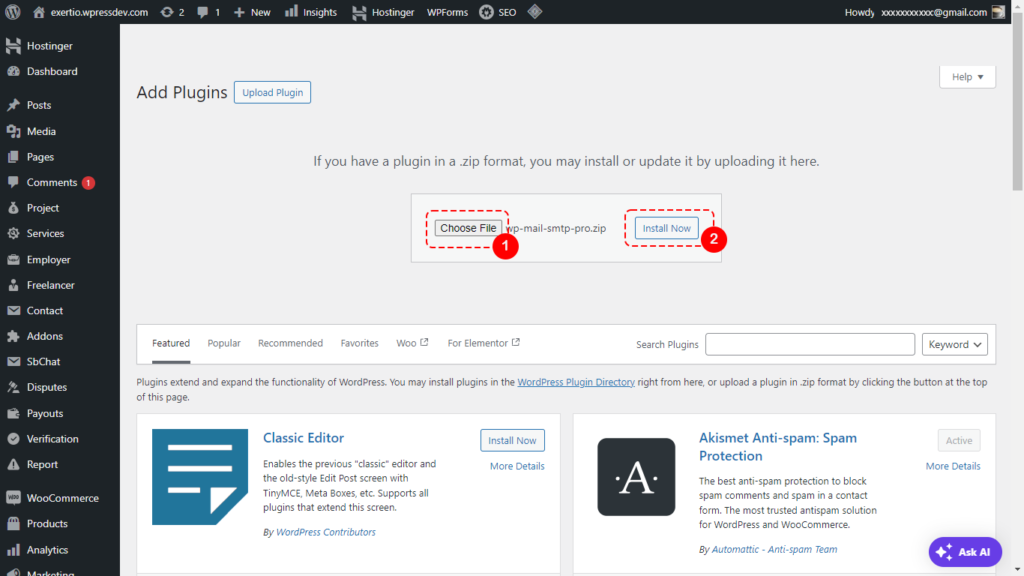
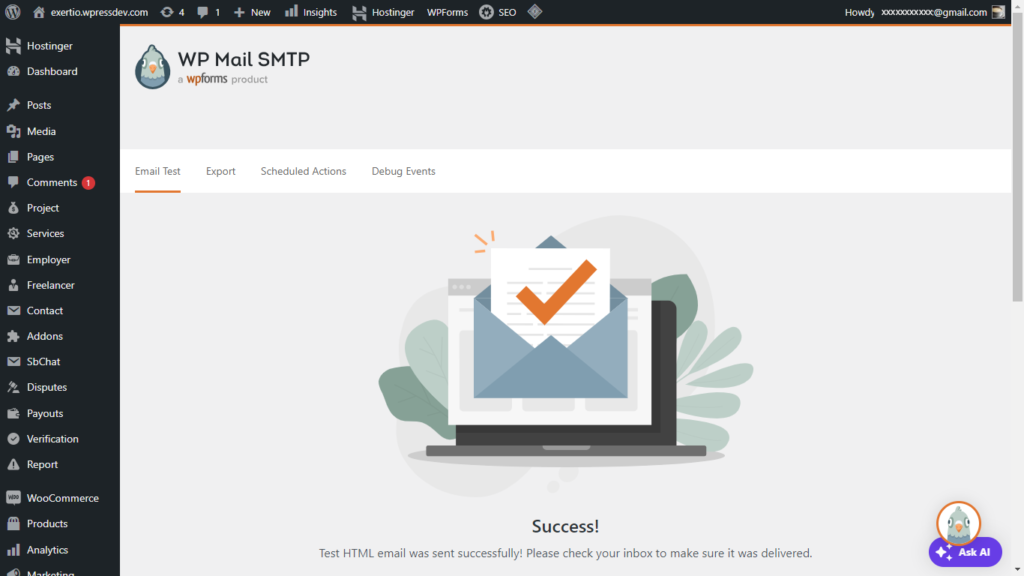
6. Install Email Plugin
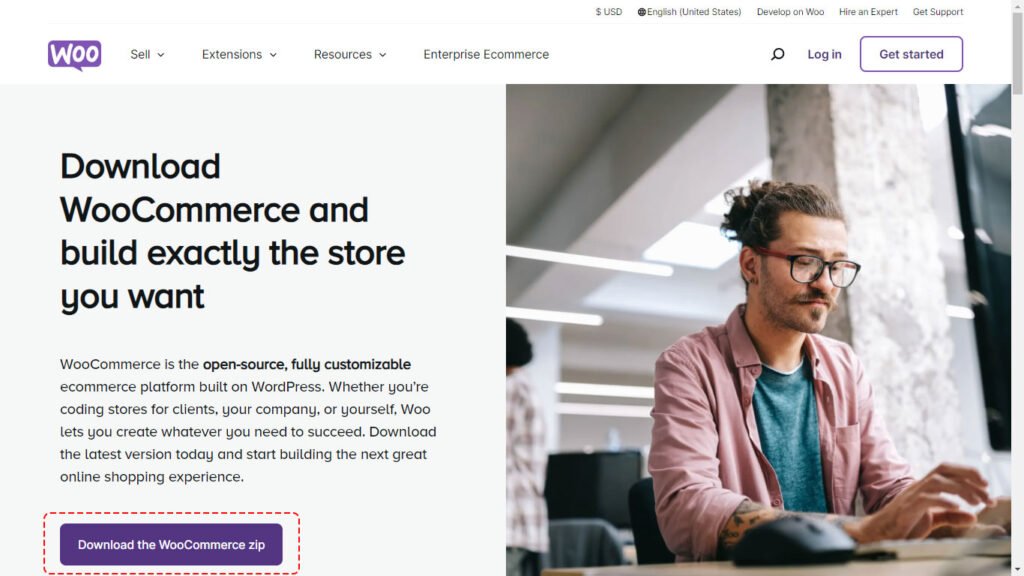
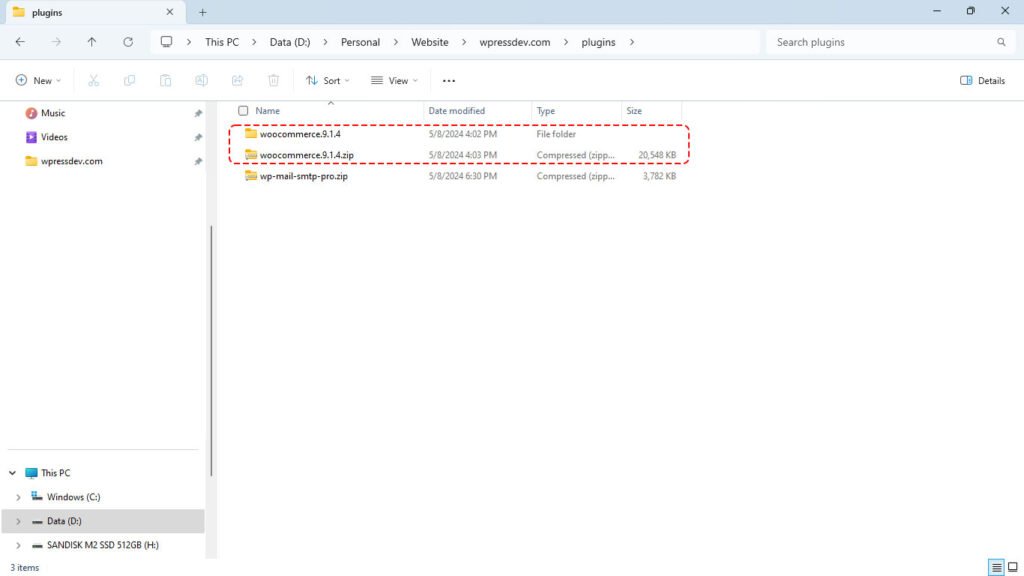
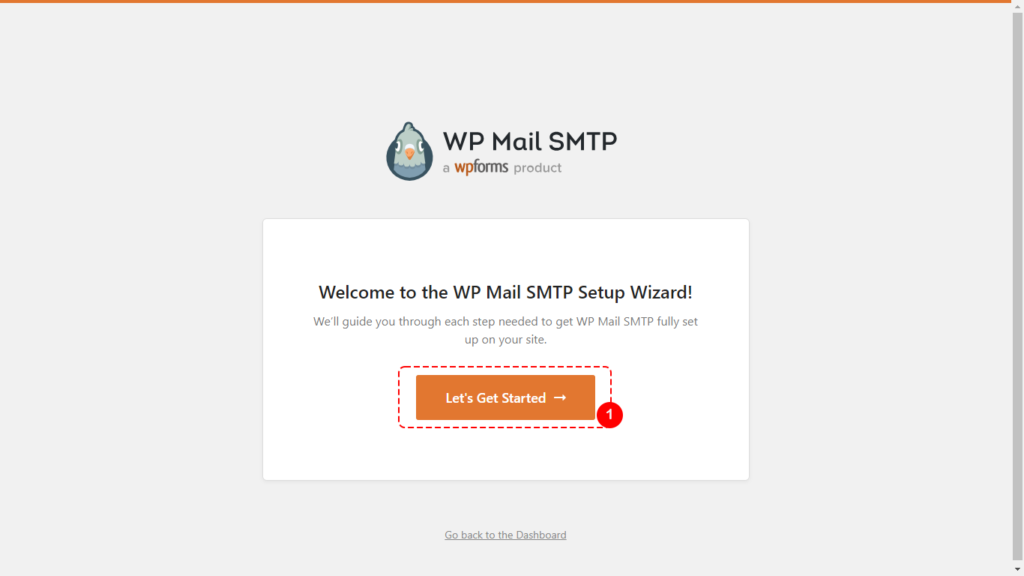
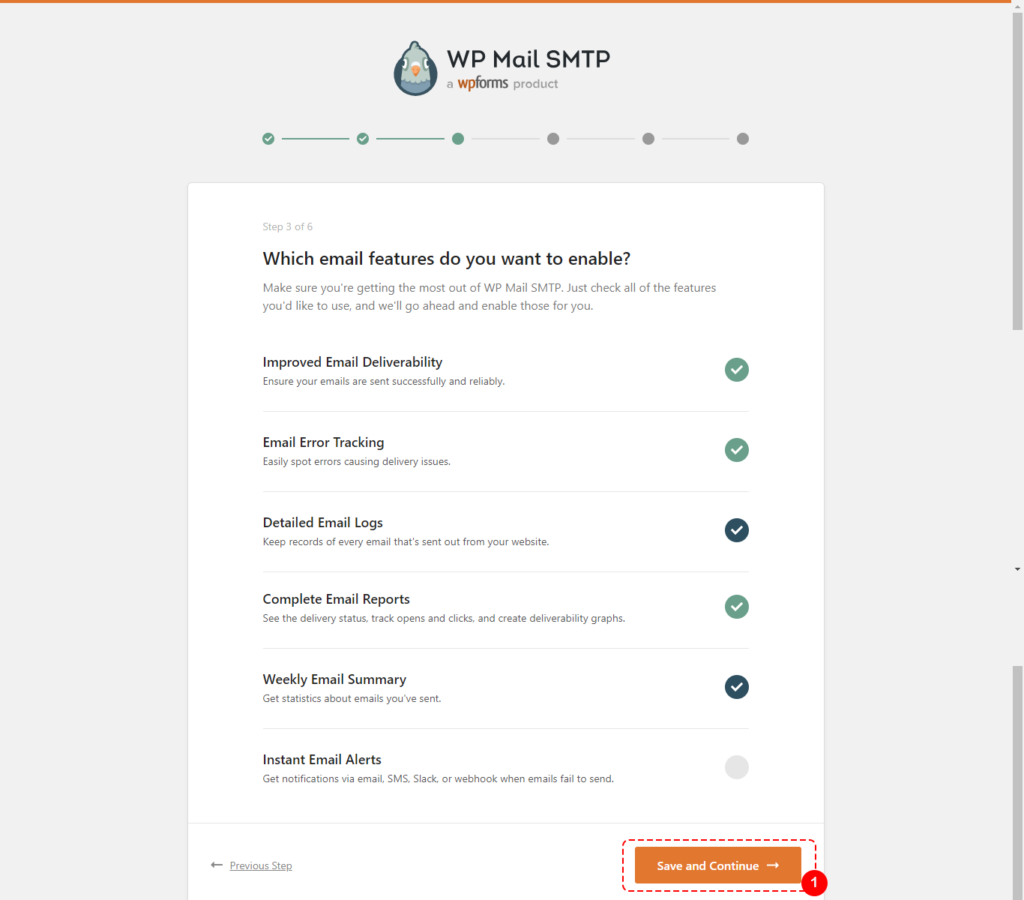
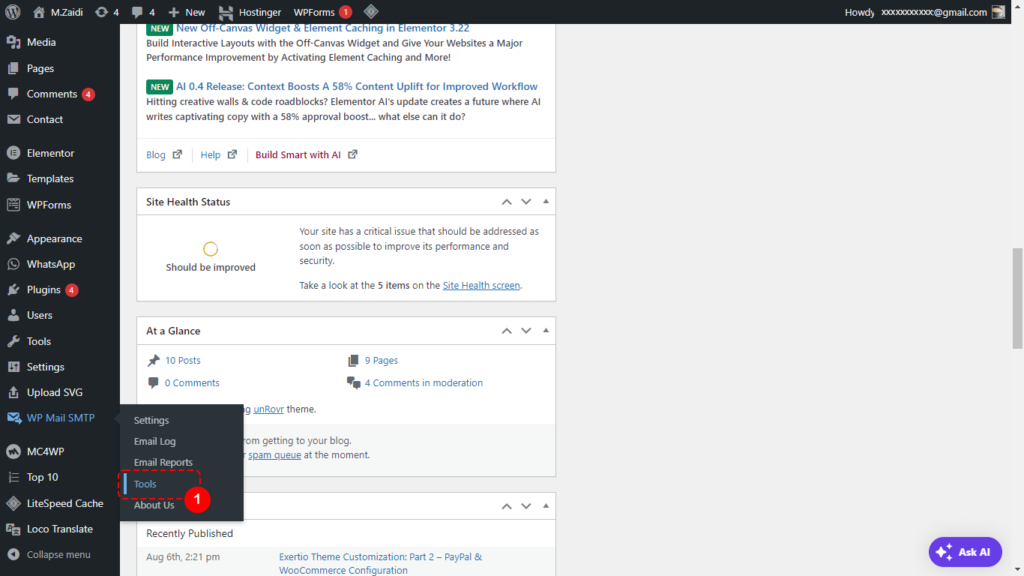
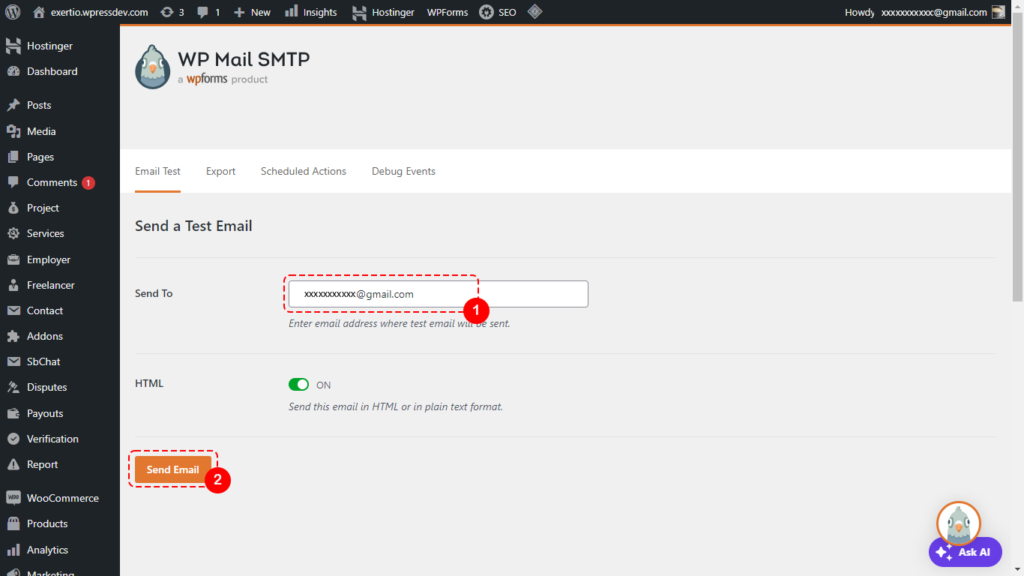
Our website needs an email functionality. We will be using WP Mail SMTP to deliver the emails to our users when they do transaction on our website. You can download the free version here. If you need a pro version, you can purchase from here.Lets get started. Click on “Plugins -> Add Plugins” menu on the left. Select the WP Mail SMTP zip file we save under the “plugins” folder. Then click “Install Now“.


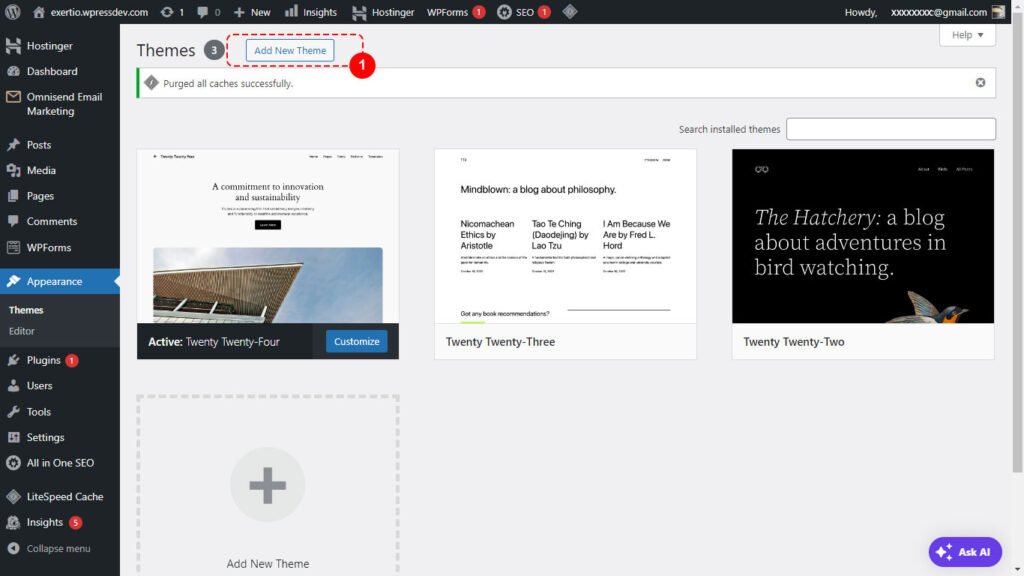
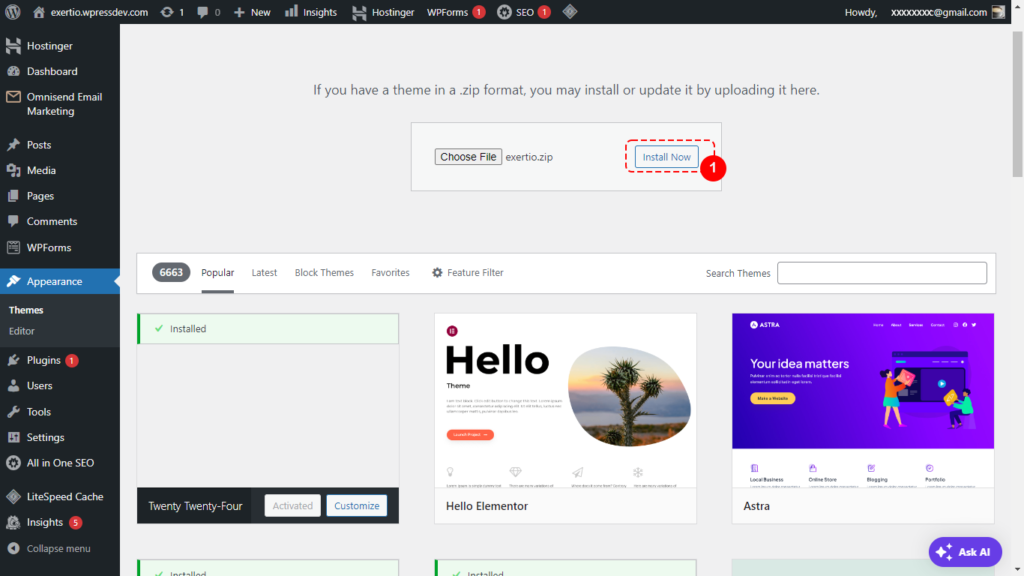
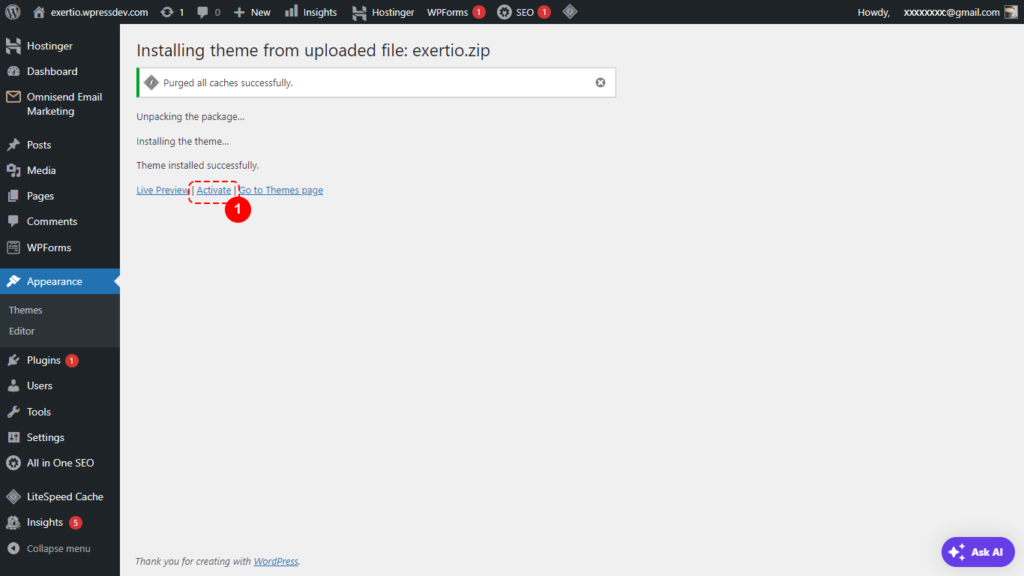
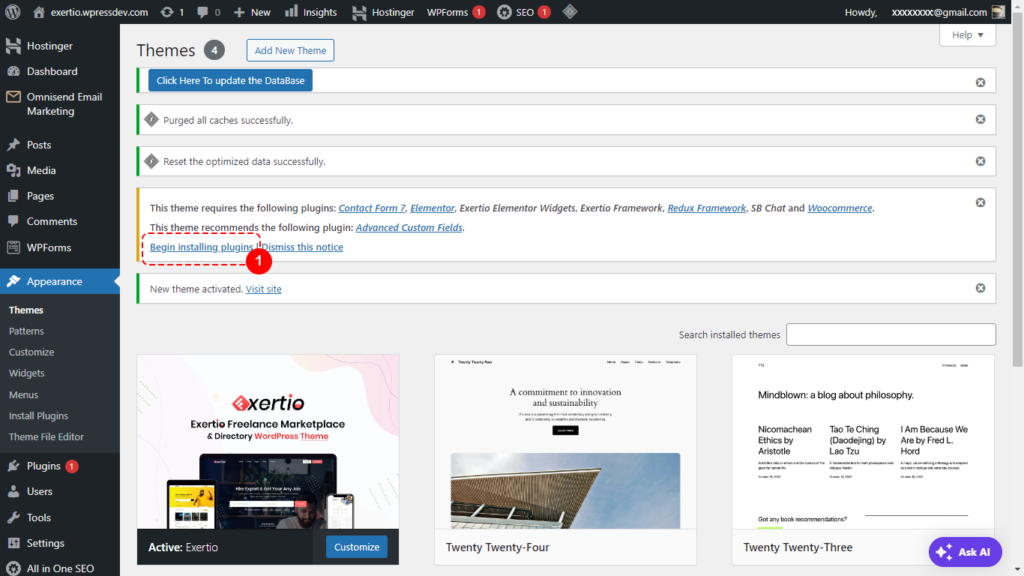
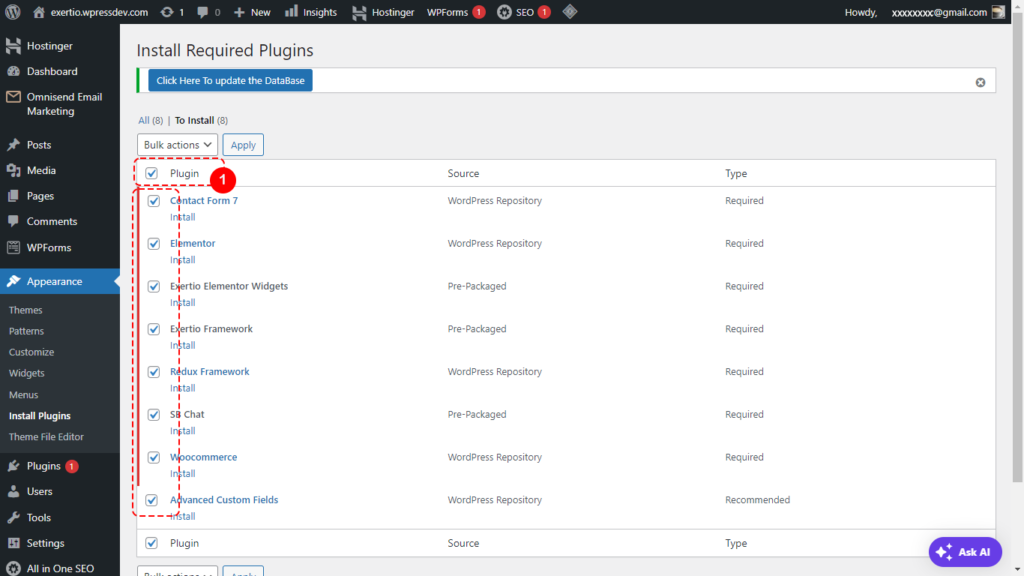
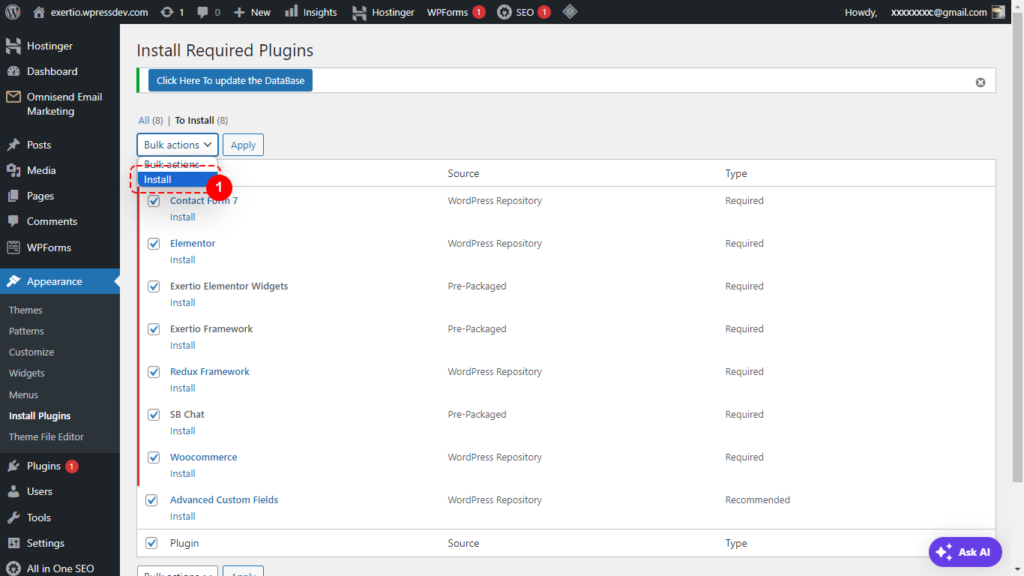
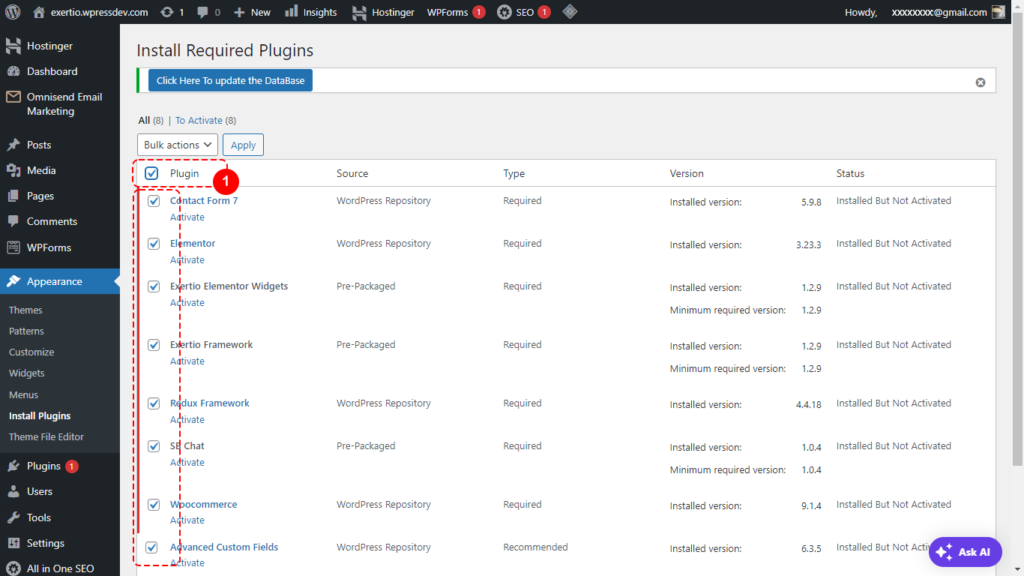
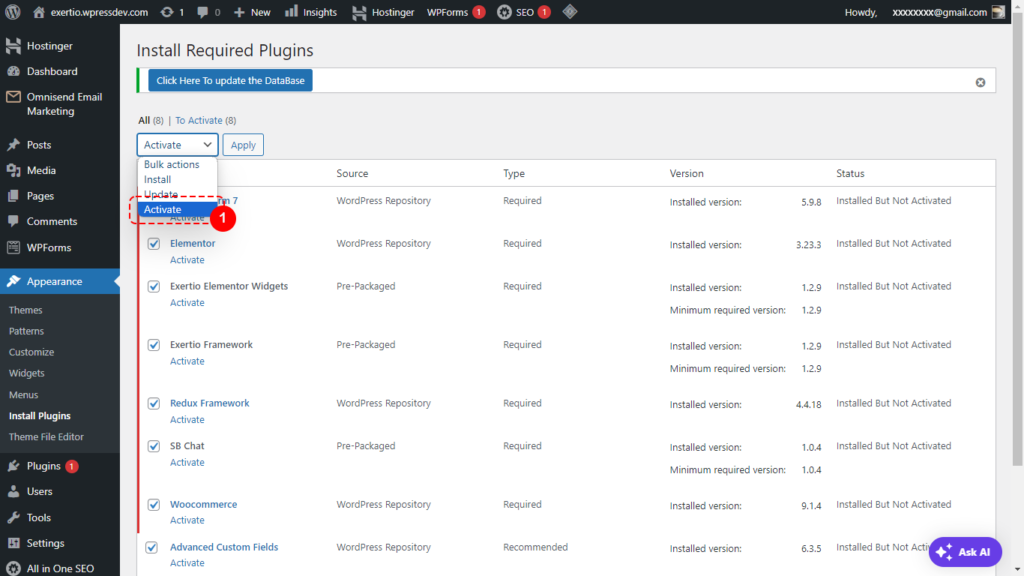
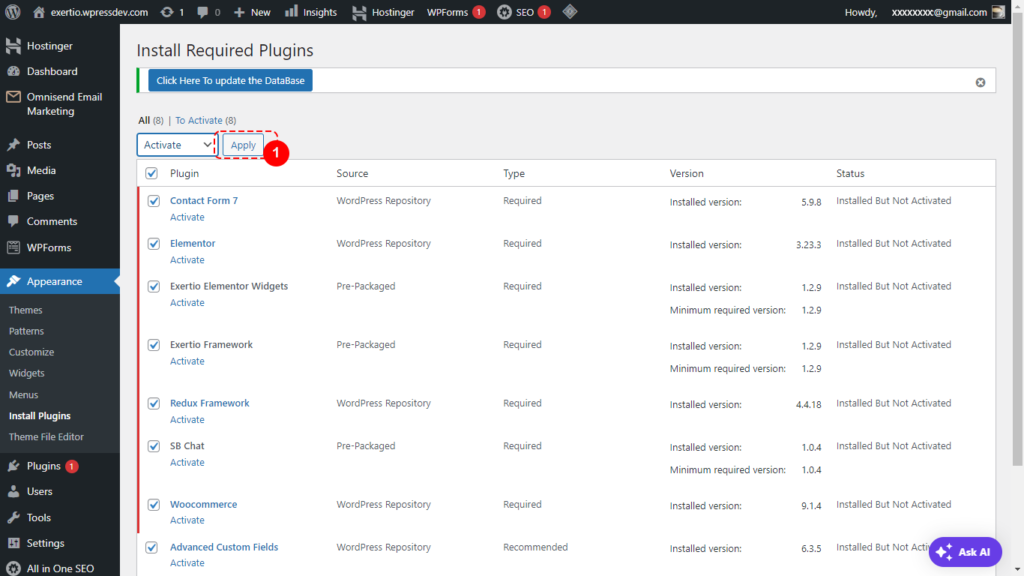
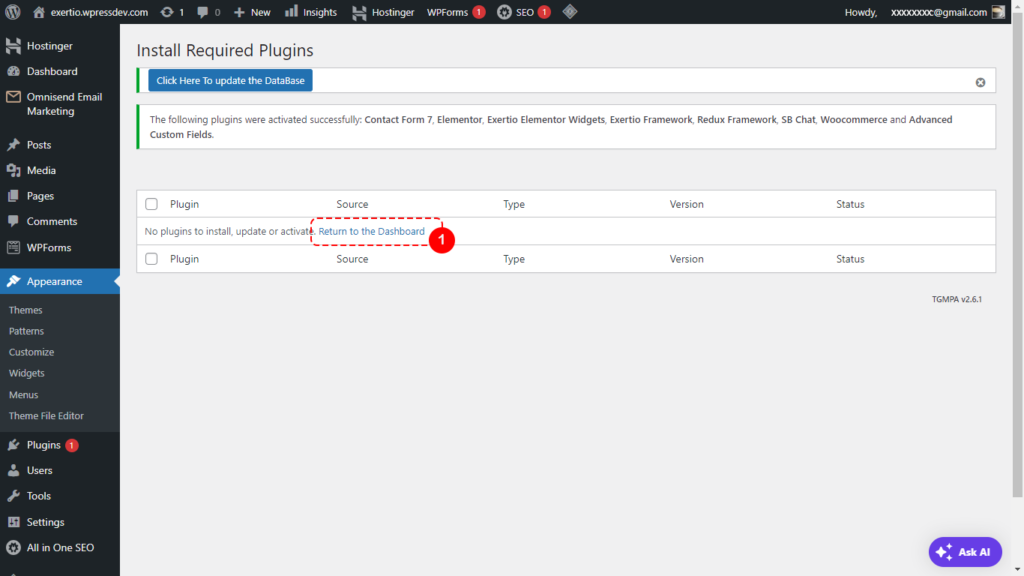
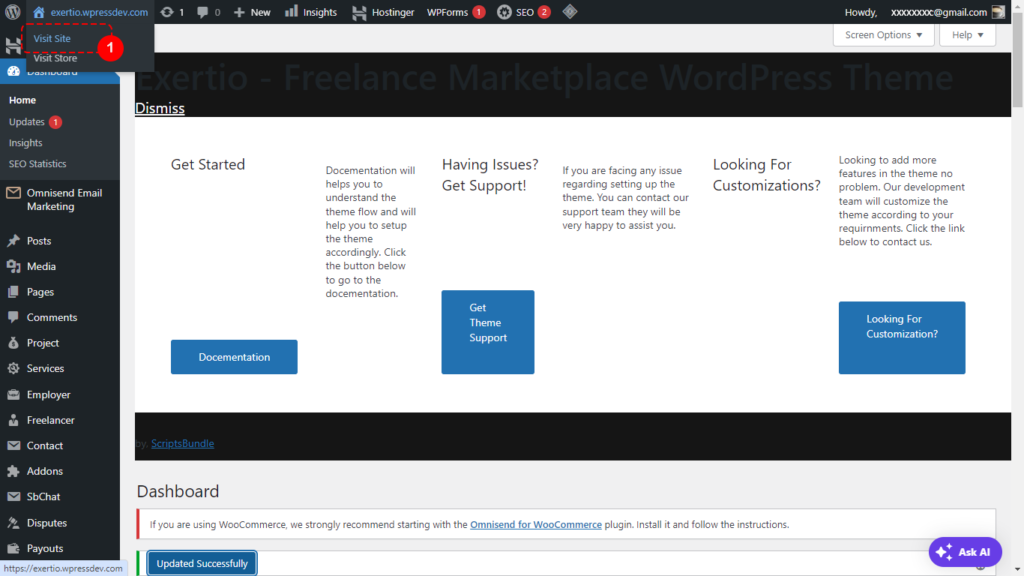
7. Install Exertio Theme


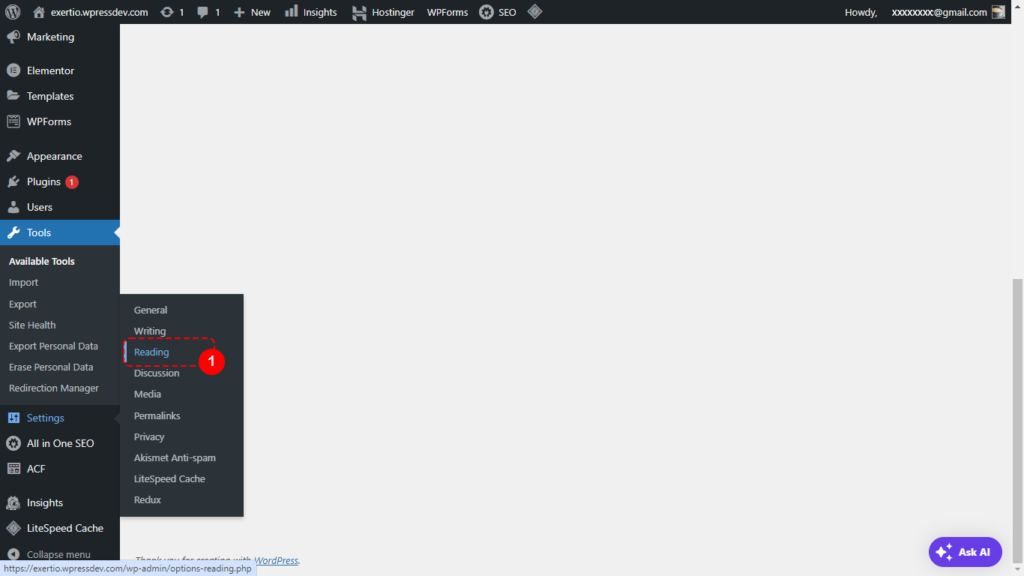

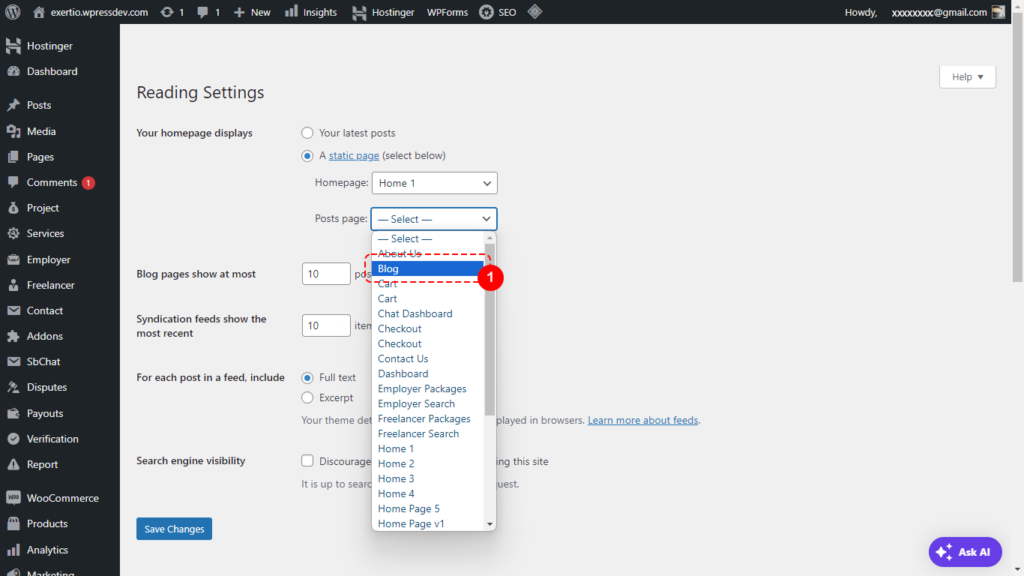
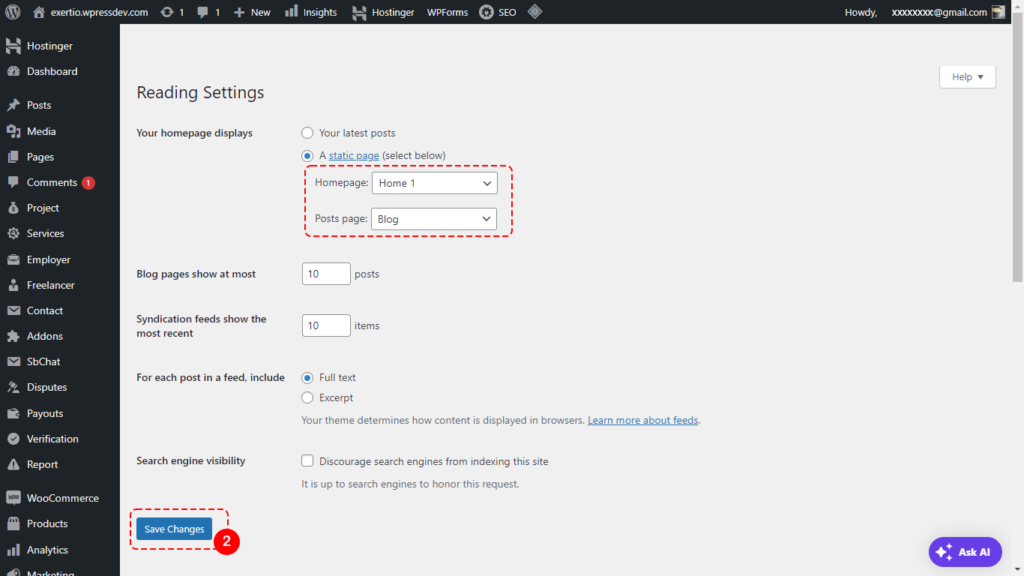
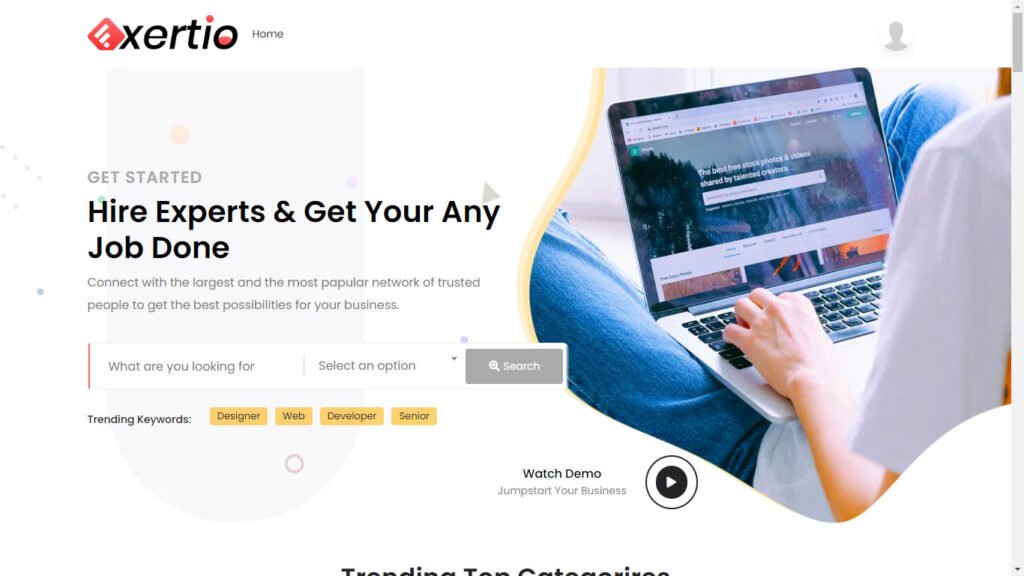
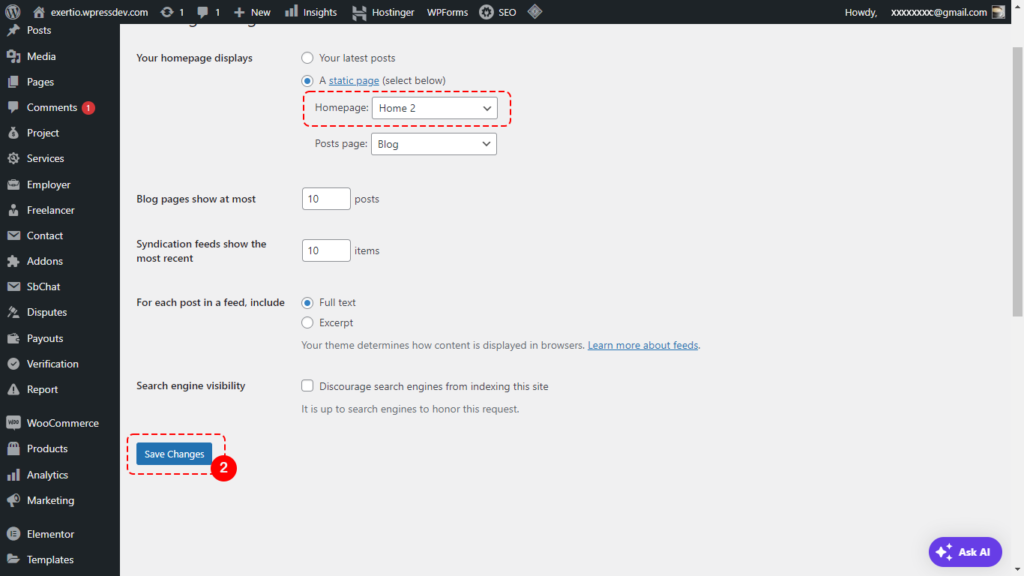
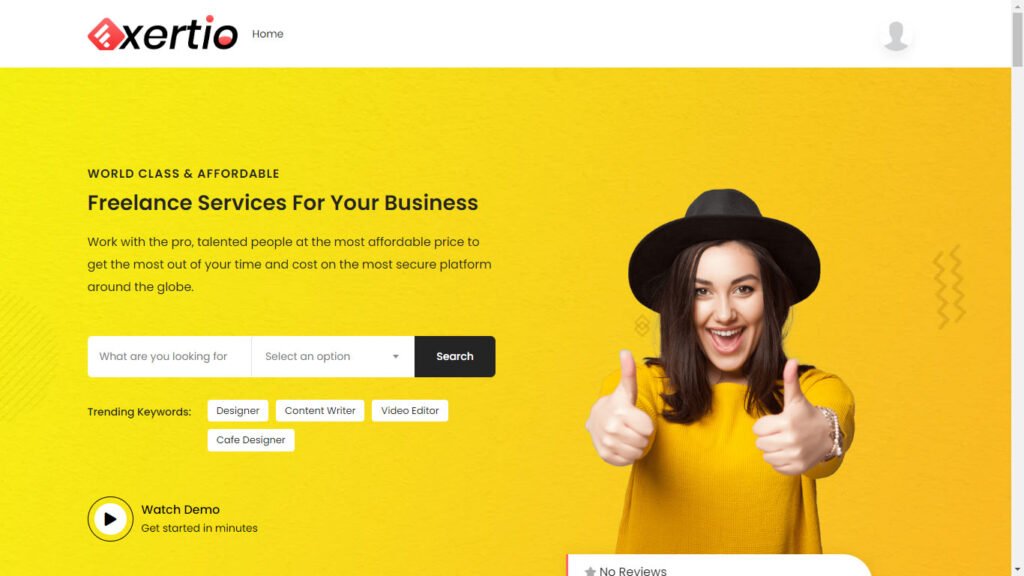


8. Exertio Theme Configuration
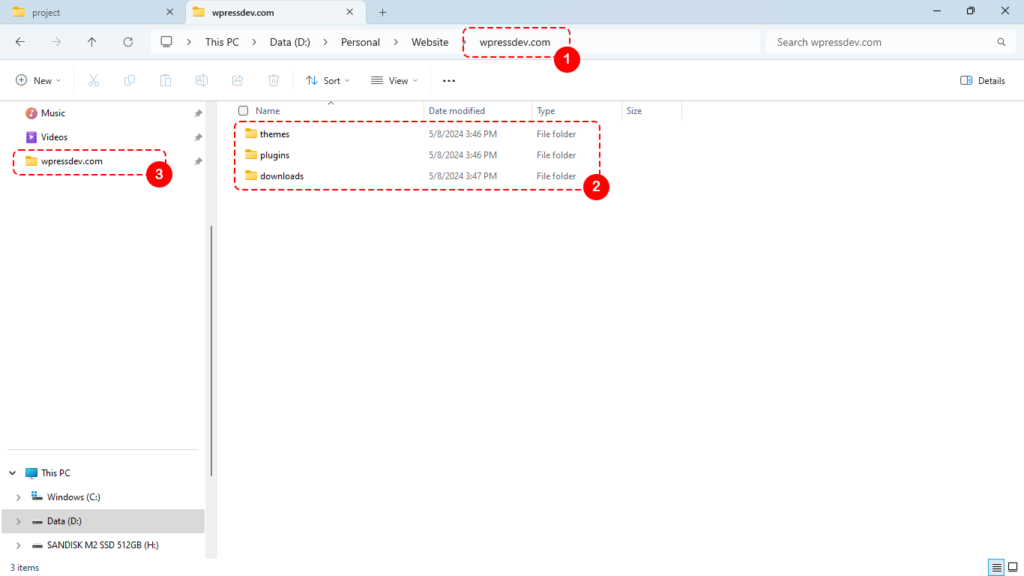
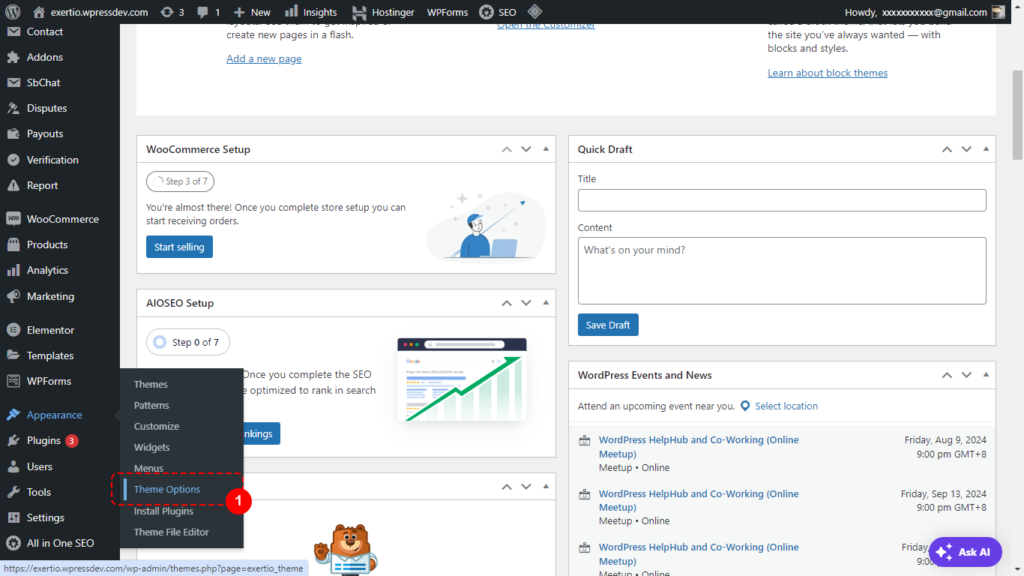
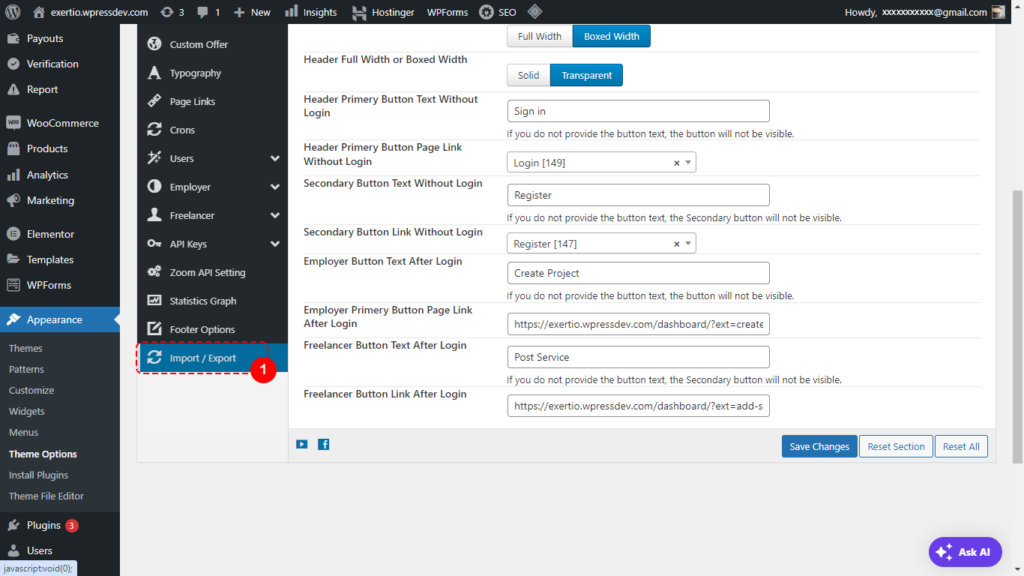
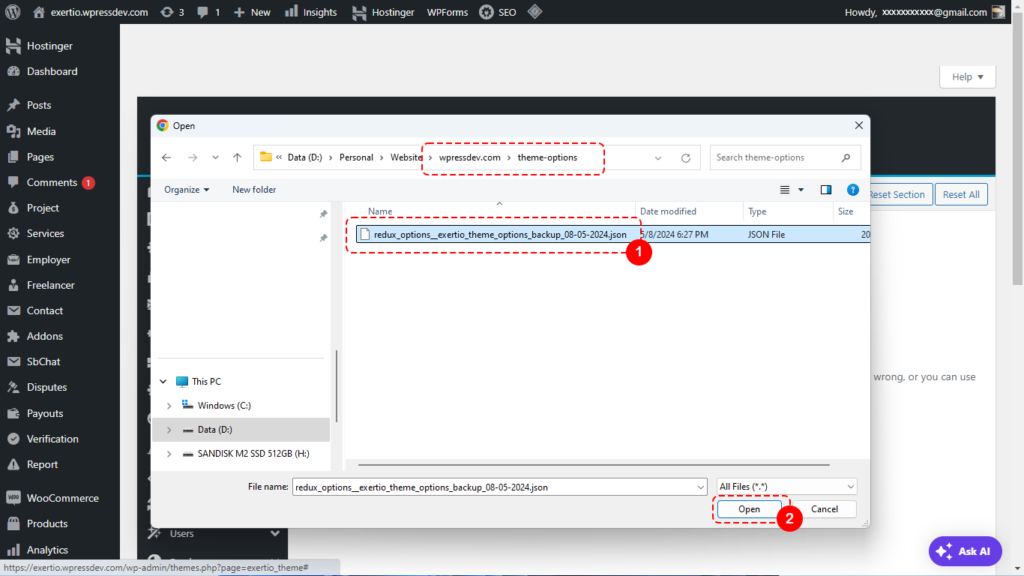
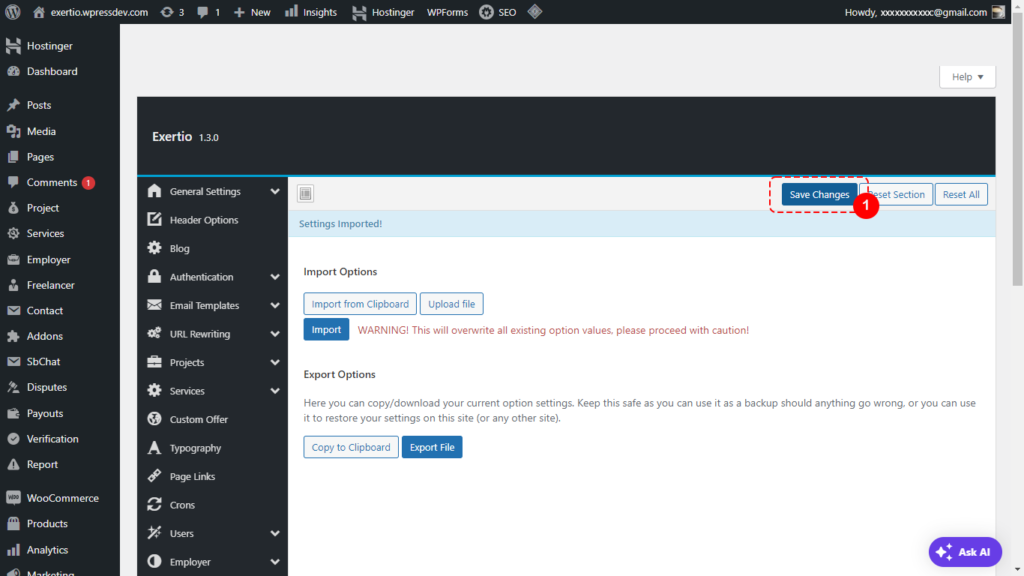
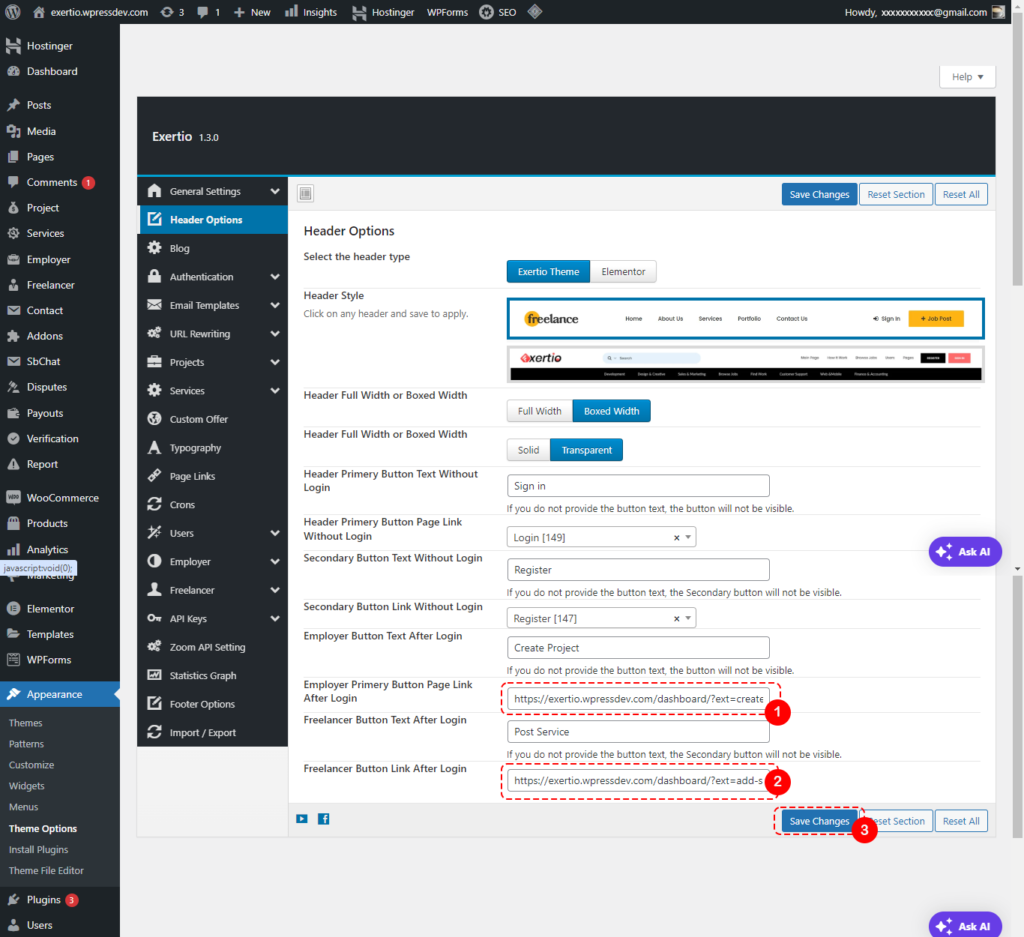
We have Exertio theme installed. Now we need to configure a basic theme options. I have prepared a theme options file which you can download here. Create a folder name “theme-options” under the “wpressdev.com” directory. Download the file and save it under the “theme-options” directory.Go to “Appearance -> Theme Options“.


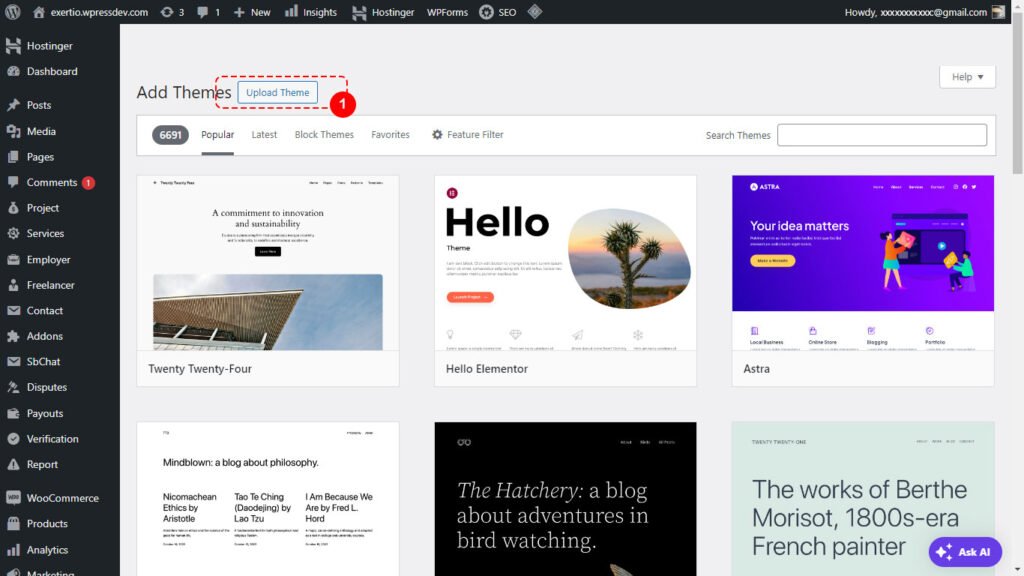
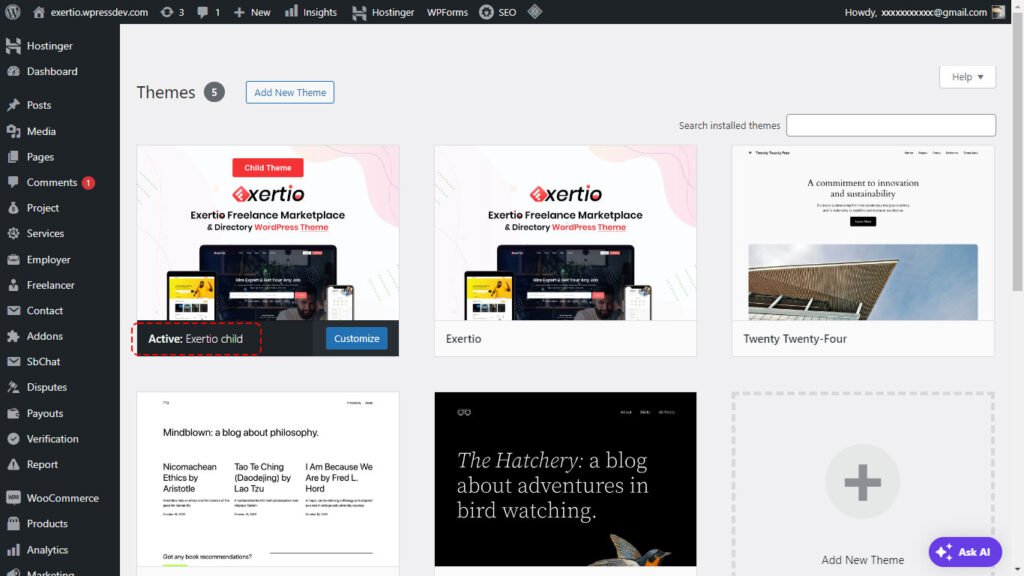
9. Install Exertio Child Theme
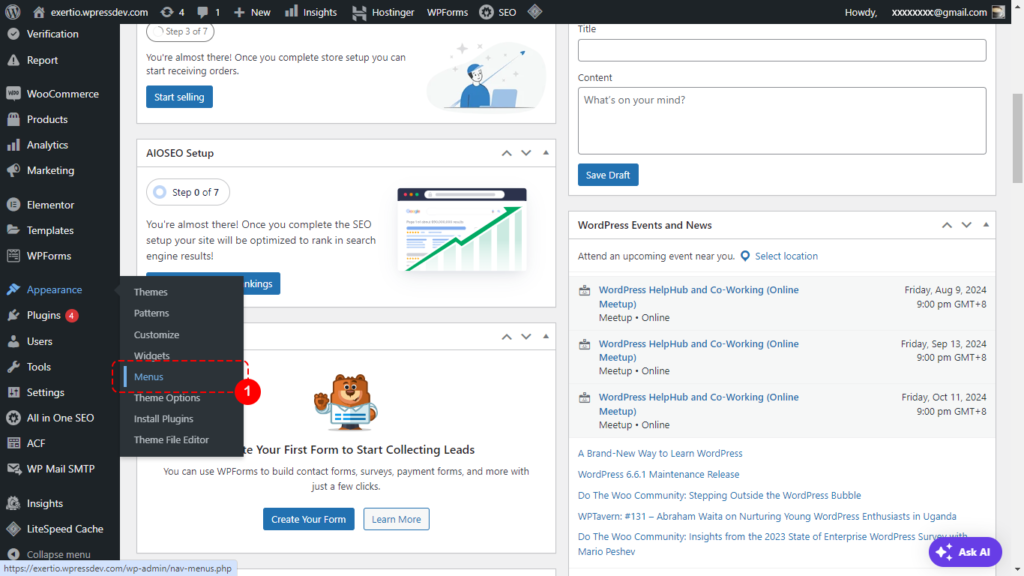
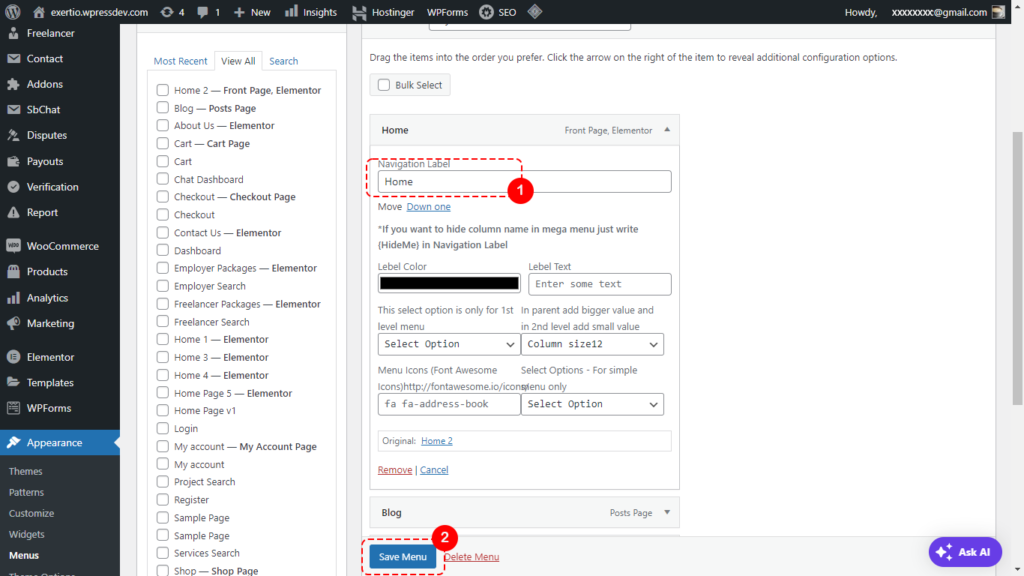
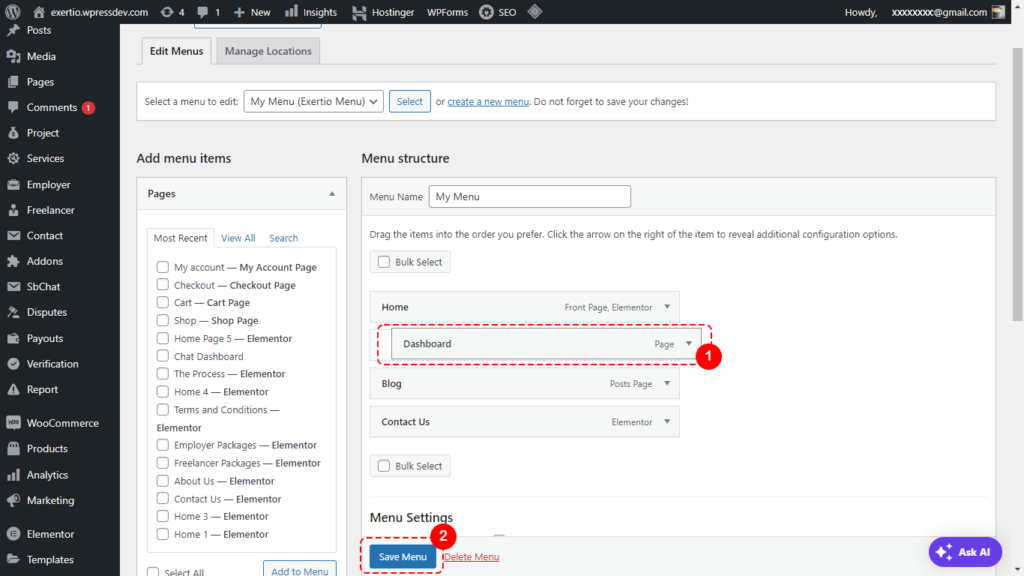
We will install the Exertio child theme. We will do the customization using the child theme. You will see later on that we also need to modify the core file theme but the changes are minimal. We will keep track the changes in a file for reference. This is useful if we need to update the Exertio theme to the latest release. We know exactly what files need to be updated.Go to “Appearance – Themes“.


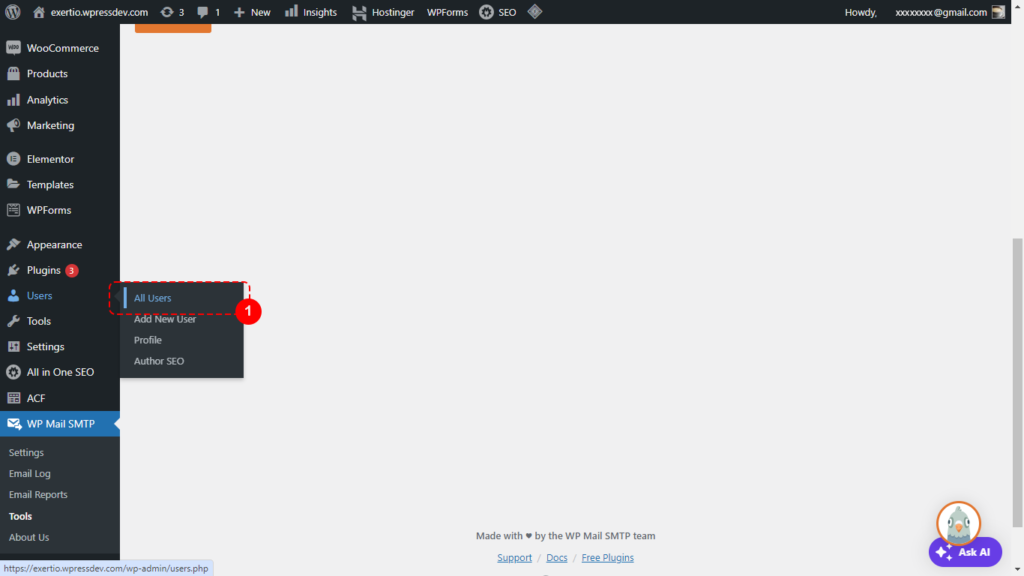
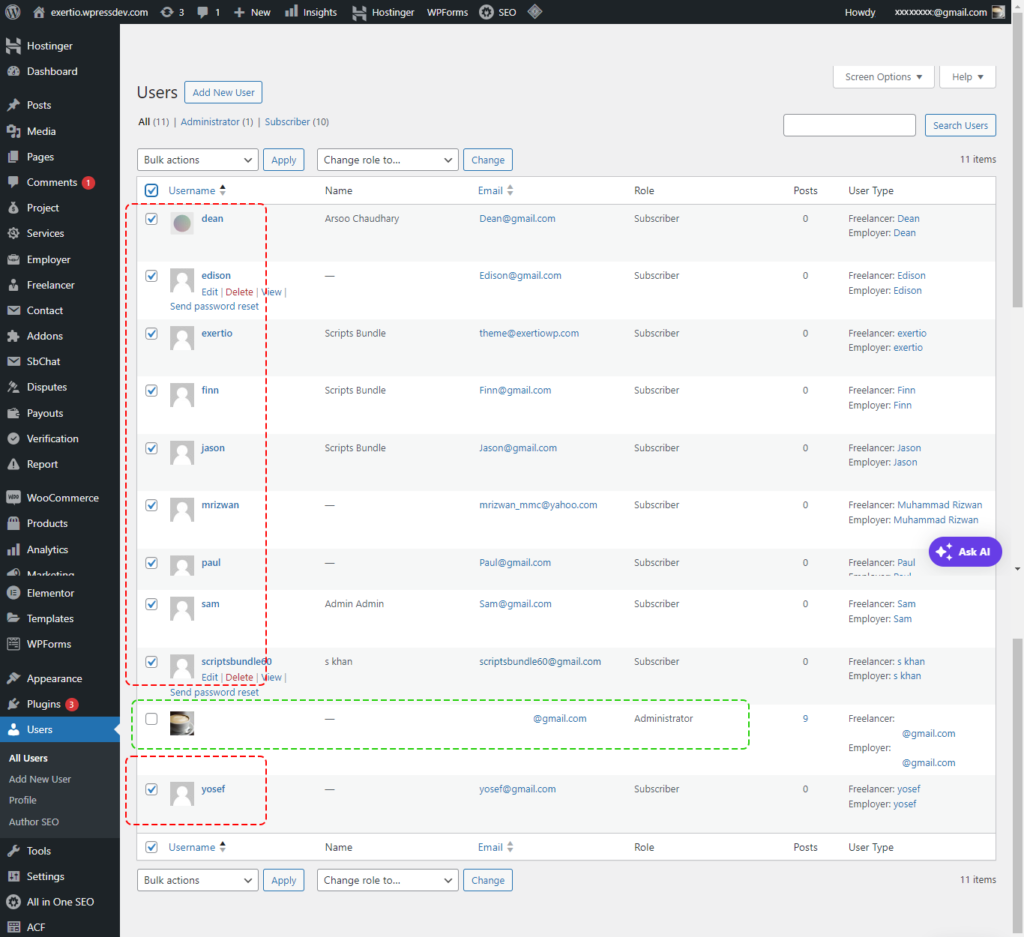
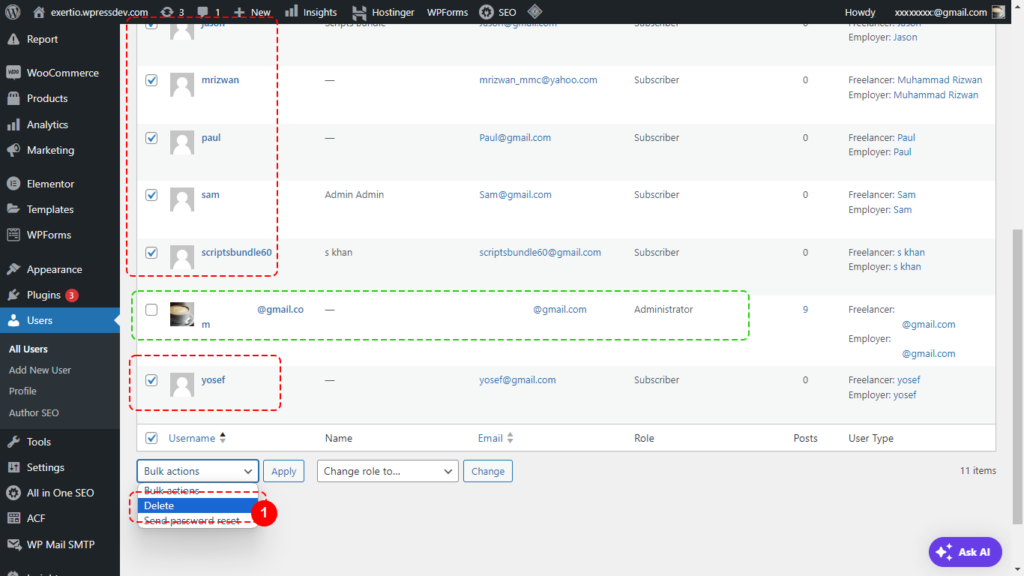
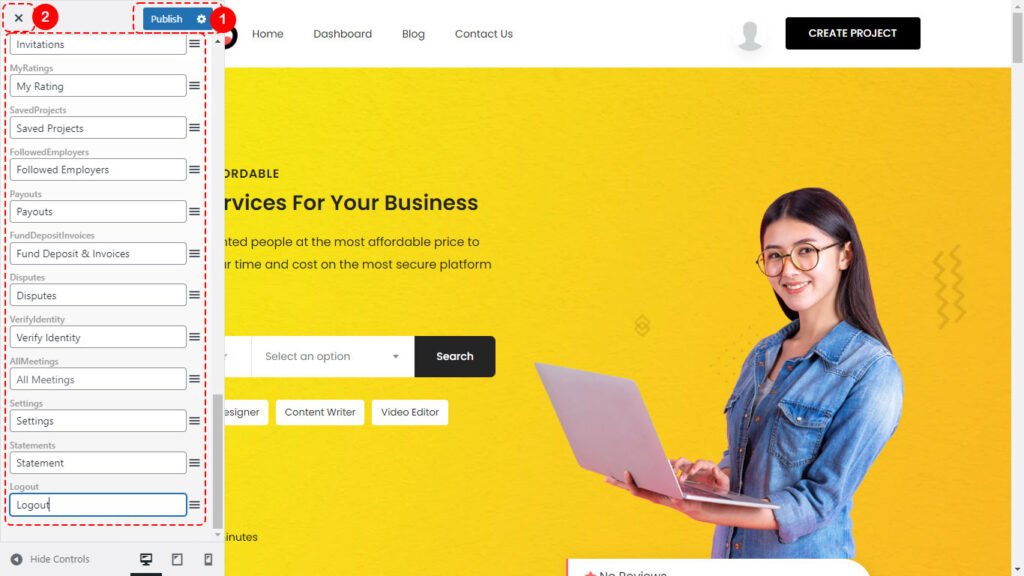
10. Create Users
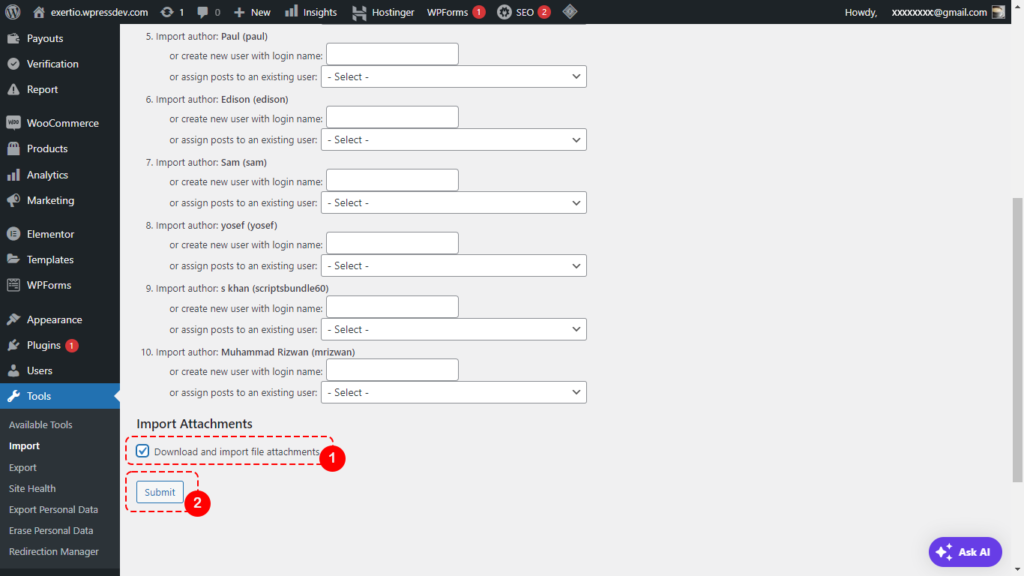
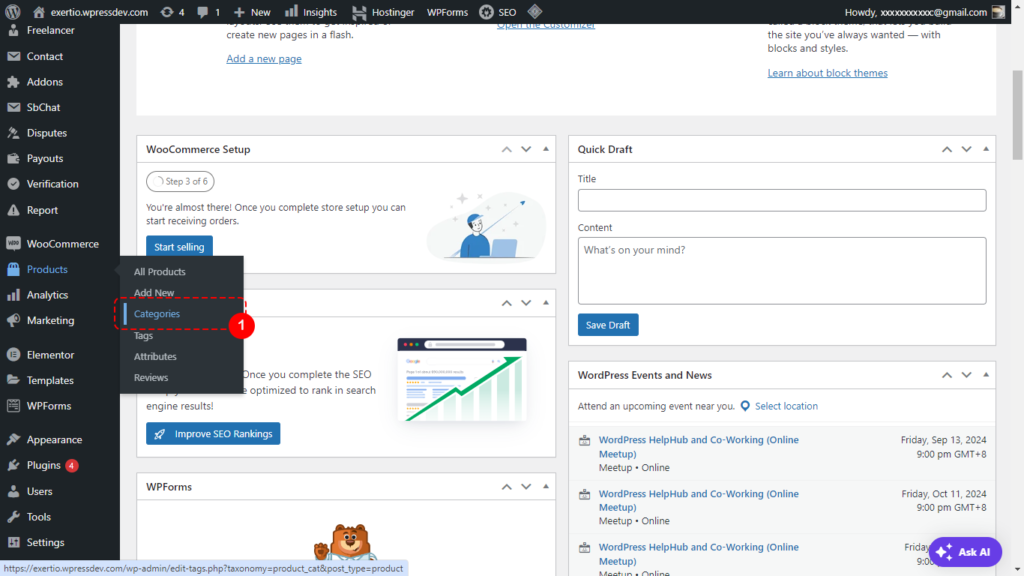
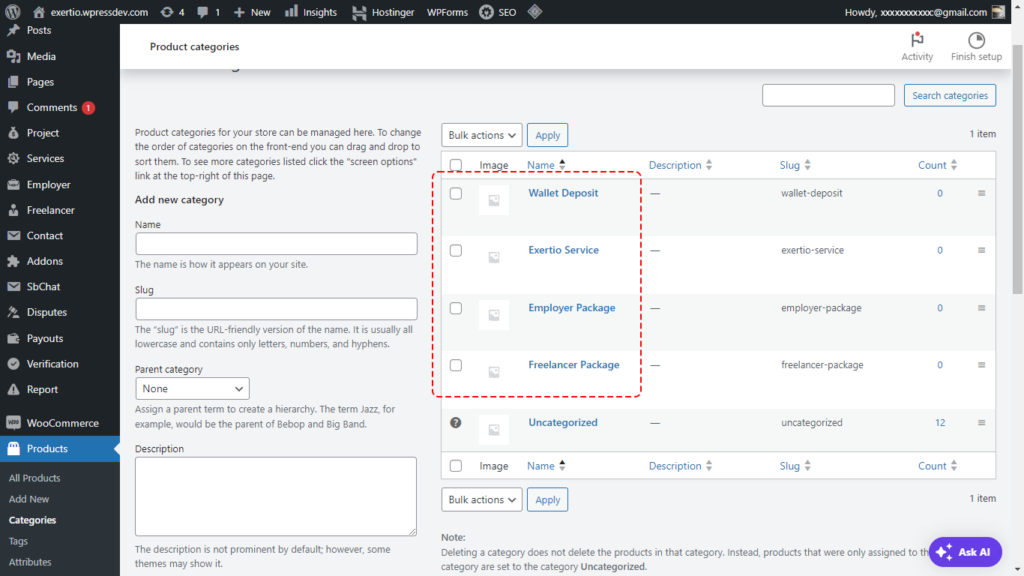
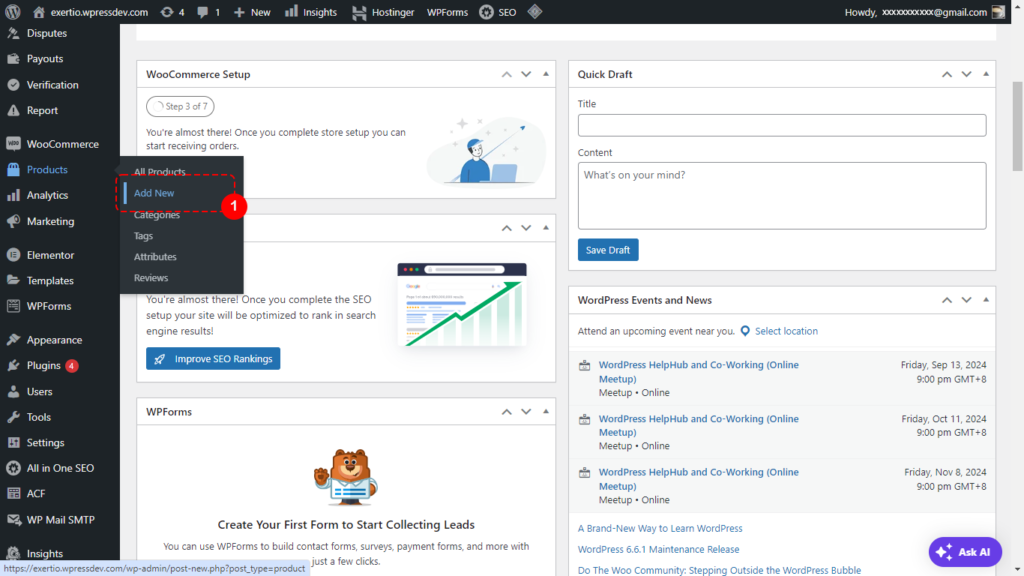
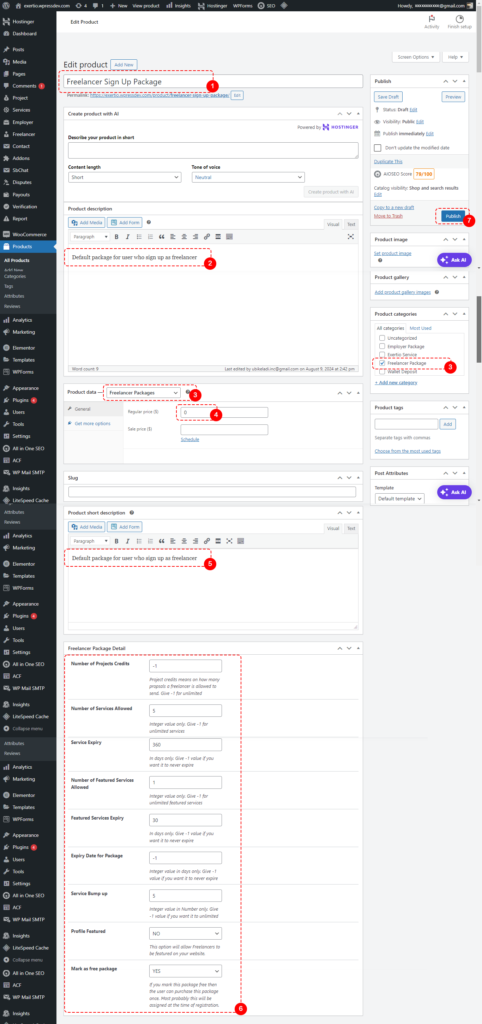
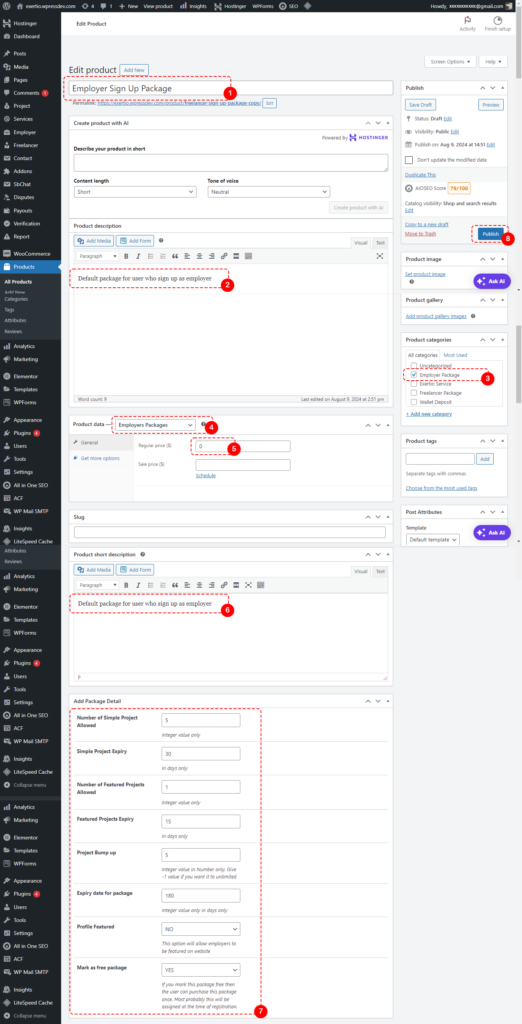
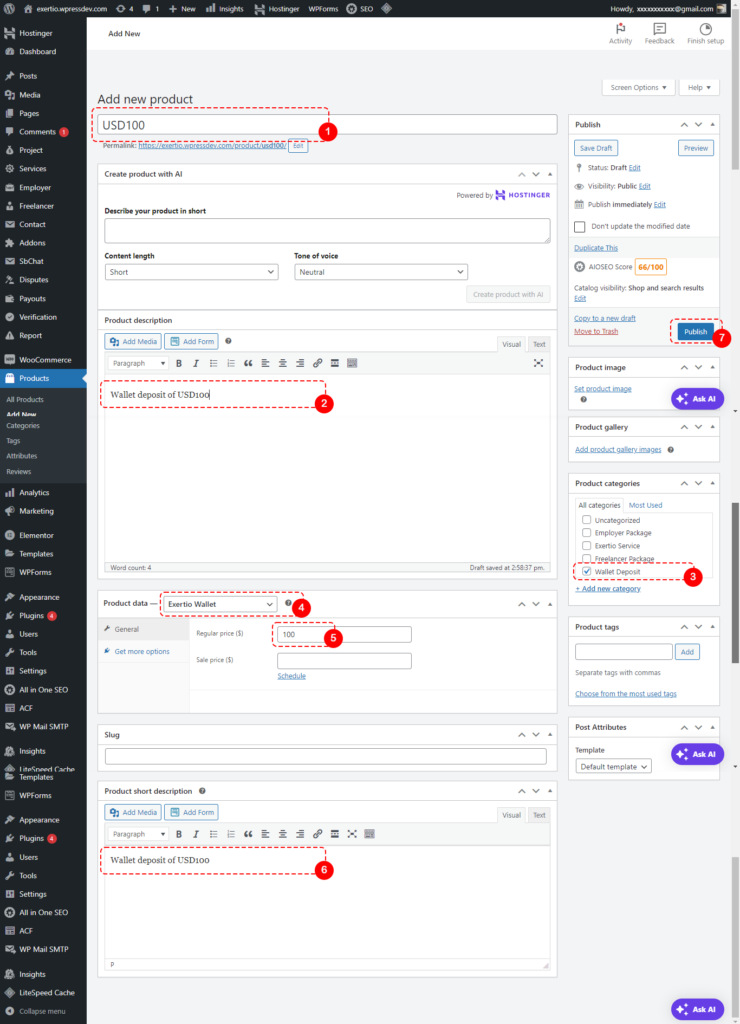
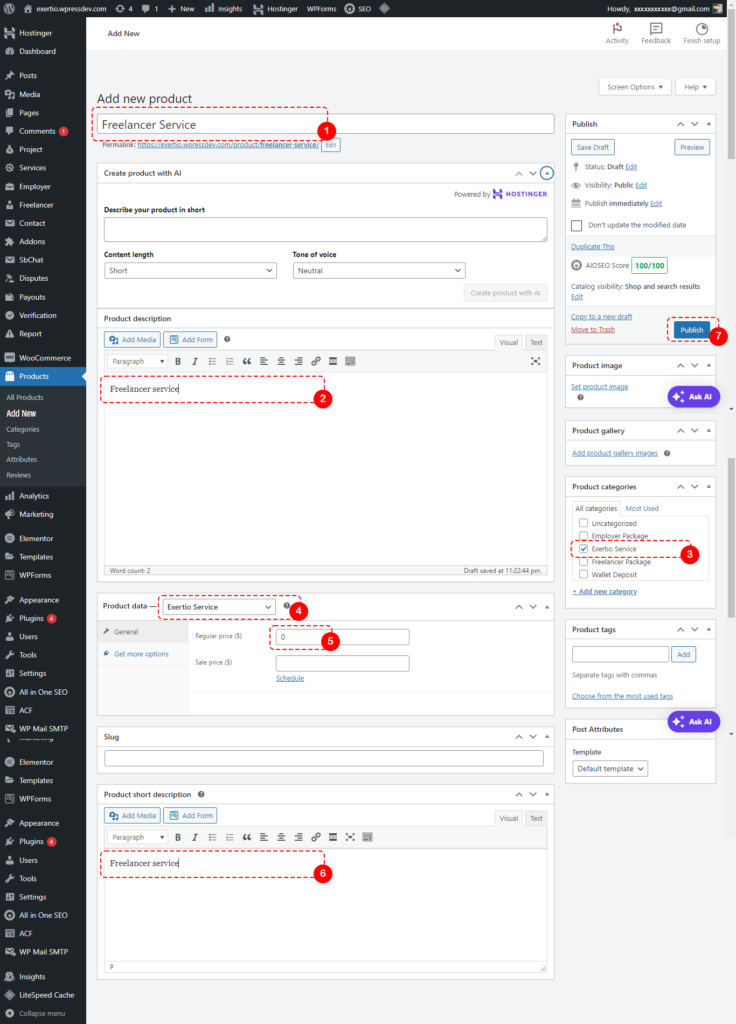
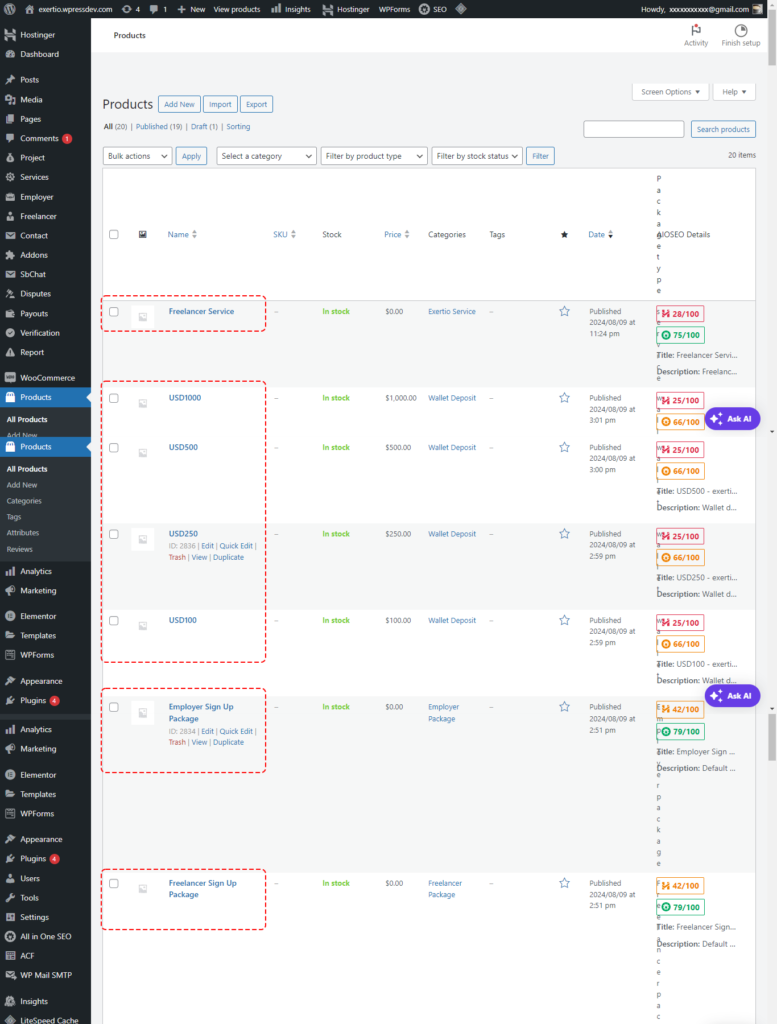
Next, we will create a few users. One user is an Employer (User01) and two users are Freelancers (User02 and Users03). Before we can do that, lets prepare some ‘products’ which will be used by the users.First we will add product categories. Go to “Products -> Categories“.


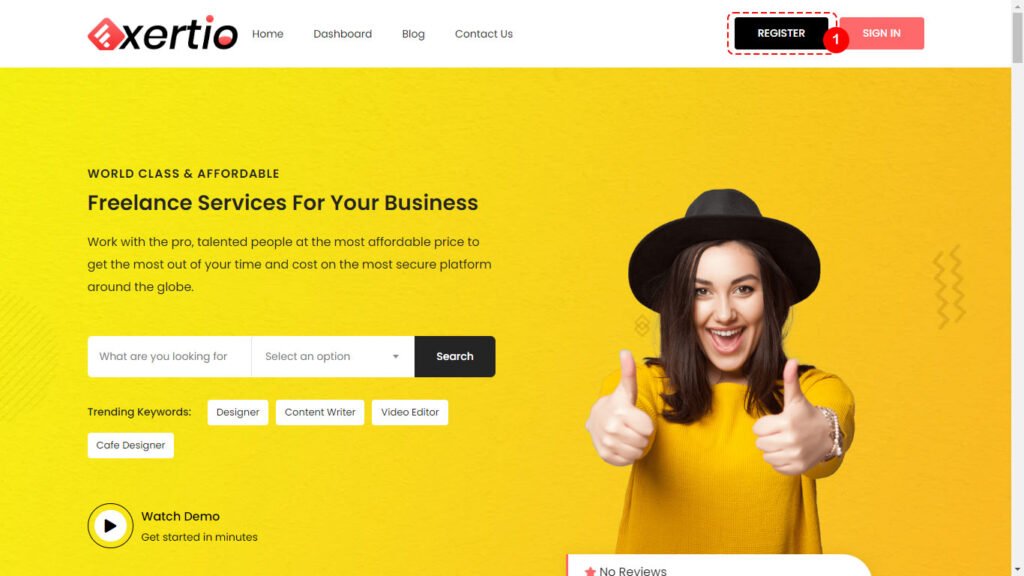
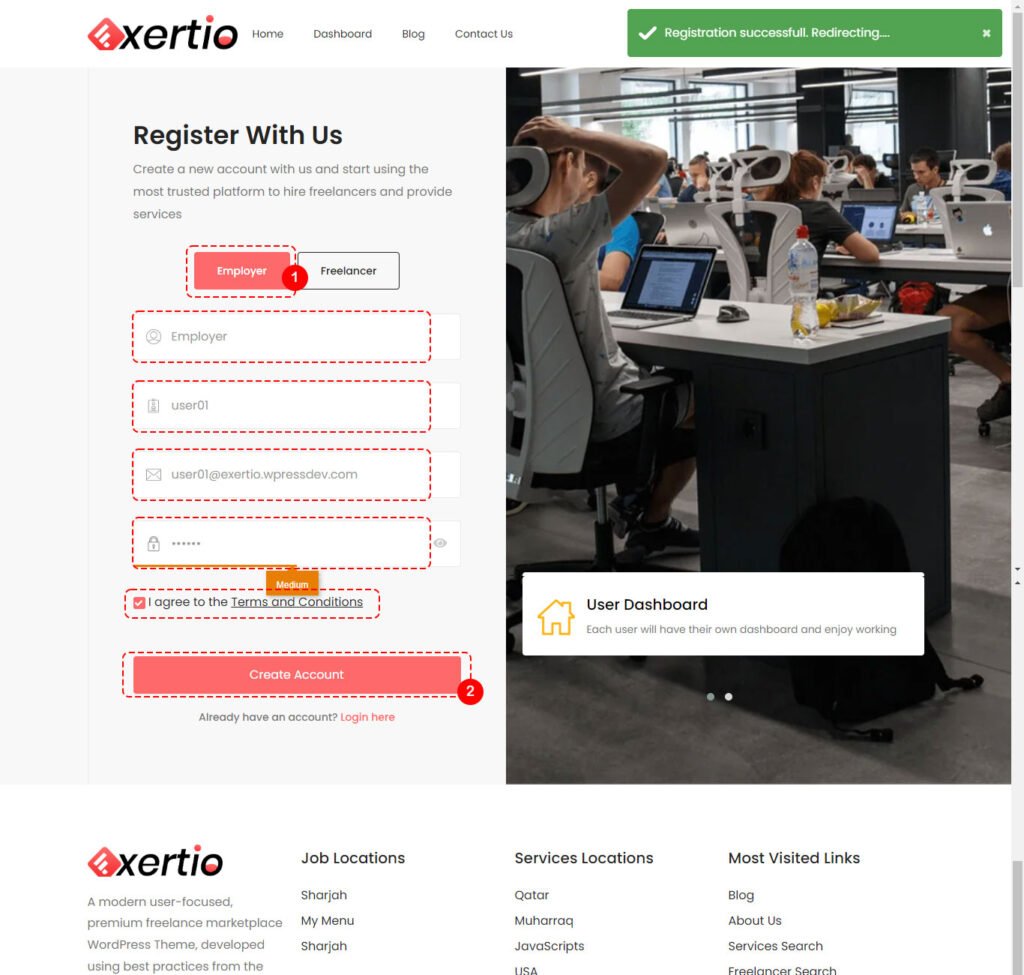
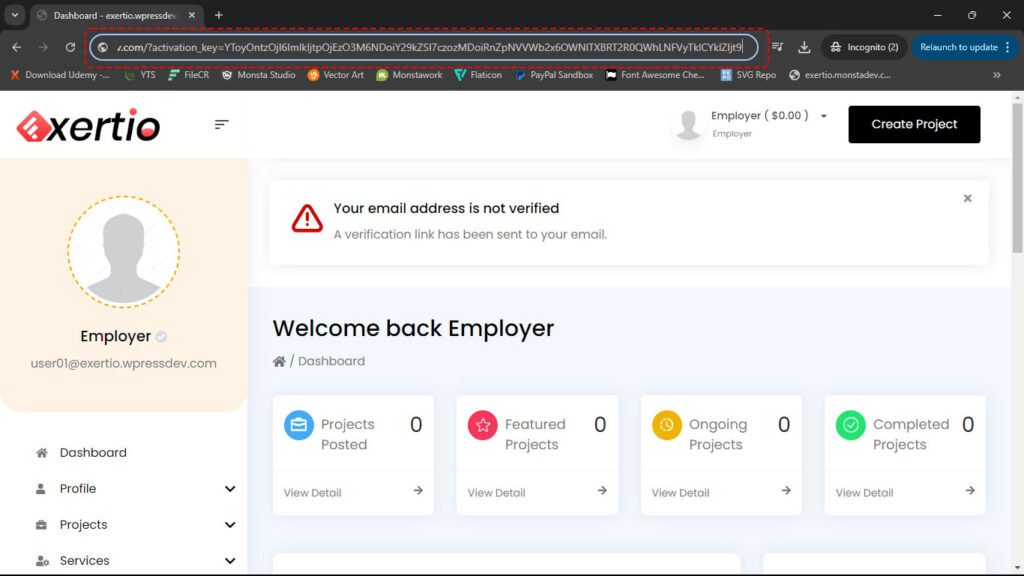
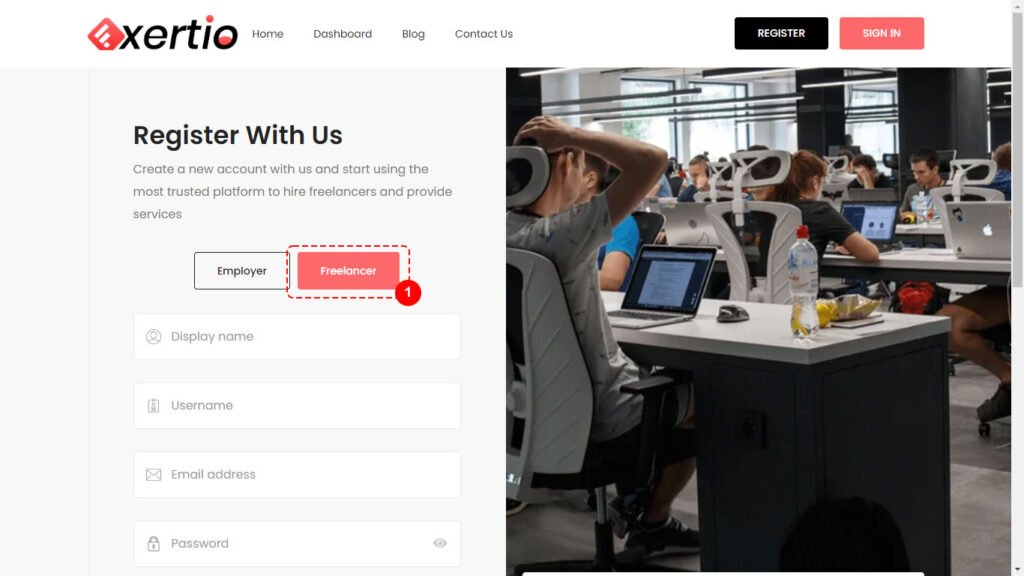
Lets register “User01” which is an Employer. Select “Employer” button. Enter the information as below. In my case, the user information is as below.Username : Employer
User ID : user01
Email : user01@exertio.wpressdev.com
Password : <your-password>
Click “I agree to the Terms and Conditions” checkbox. Click “Create Account” button.

Repeat the same process for user01 for Freelancer #1 and user02 for Freelancer #2. Make sure you select the “Freelancer” button during registration.Freelancer #1 / Freelancer #2
Display name : Freelancer 01 / Freelancer 02
Username : user02 / user03
Email : user02@exertio.wpressdev.com / user03@exertio.wpressdev.com
Password : <your-password> / <your-password>

Hover your mouse over the “user01” and you will see the User ID of “user01” on the status bar. In this case “user01” User ID is “15”. Lets do the same for “user02” and “user03”. On my website, I get the following info. You might get different values. That is fine.Employer (user01) : 15
Freelancer #1 (user02) : 16
FreeLancer #2 (user03) : 17

11. Introduction to MySQL
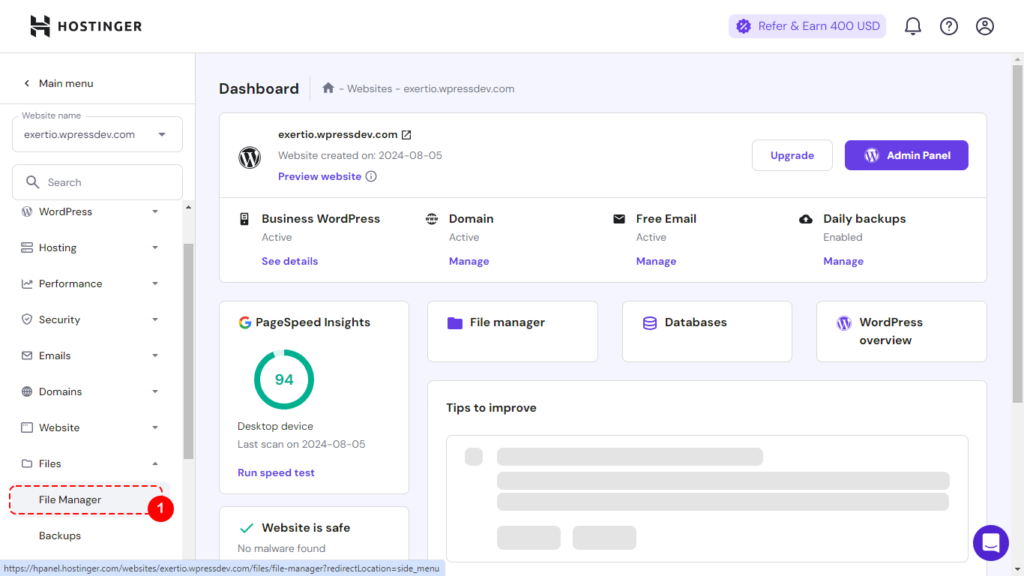
WordPress is using MySQL database to store its information. This database is also used by Exertio theme to create new tables and store its information.To access this database, go to Hostinger panel and click “Database -> Management“.


Below shows the “wp_exertio_project_offers“. Currently it is empty. Project offer is a feature where Employer can offer a project to Freelancers.Lets take an example. An Employer submit a project “I need an eCommerce website“. He sets the price at $100 for 10 days implementation. Freelancer #1 send a proposal for $250 for 20 days. Employer can see Freelancer #1 proposal as well as other proposals from other Freelancers. Since he like Freelancer #1 proposal but quite constraint on the budget, he send an offer for example, $150 for 15 days.
The table “wp_exertio_project_offers” will capture this information. Do not worry. We will investigate this as we progress.

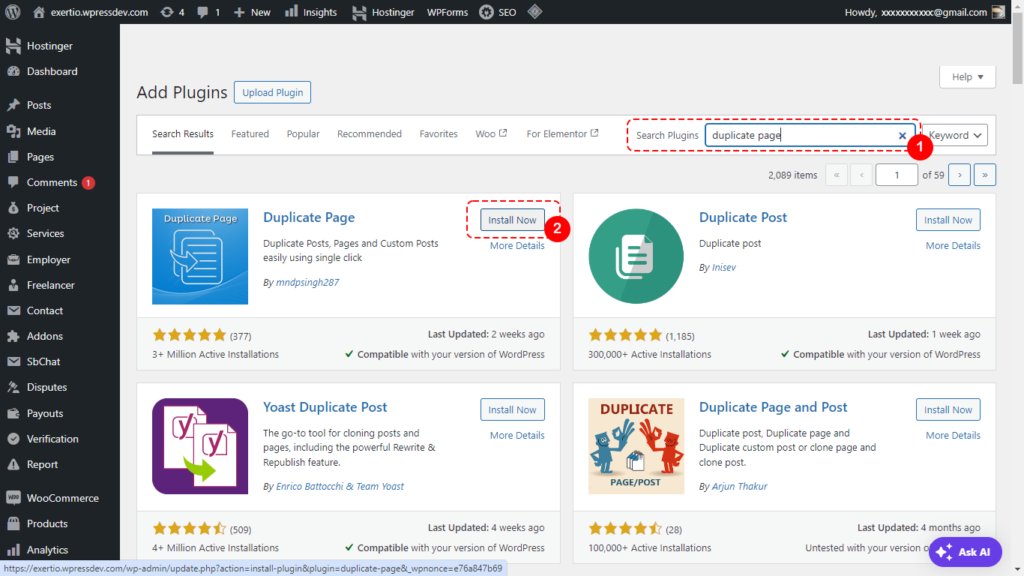
12. Additional Tools
We will require additional plugins and tools to aid our customization efforts. I suggest we install the following software.
- Notepad++ – Use this to find and locate certain string from the theme files
- Sublime Text – Use this to view and update the php file
Please download and install them.
On top of these, I suggest we install additional WordPress plugins.
- Duplicate Page – Use this to duplicate page/post
- SVG Support – Support SVG file on our website
To install plugins, go to “Plugins -> Add New Plugin“.

13. Our First Investigation
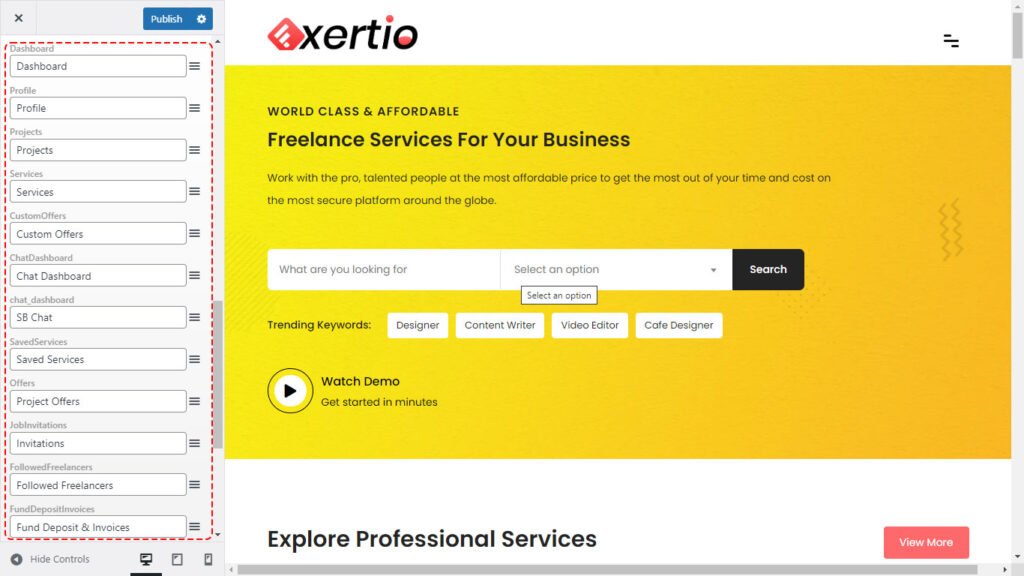
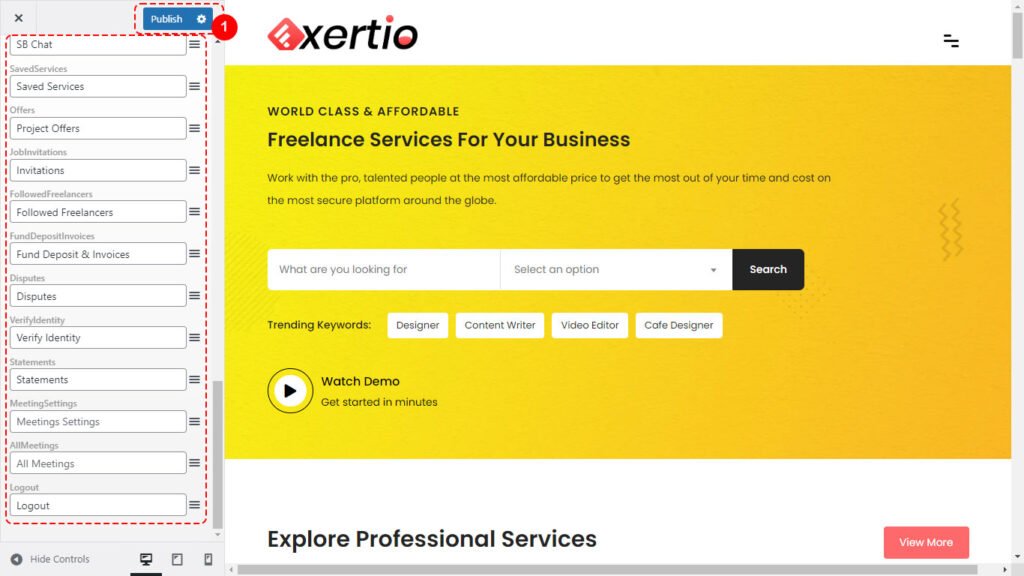
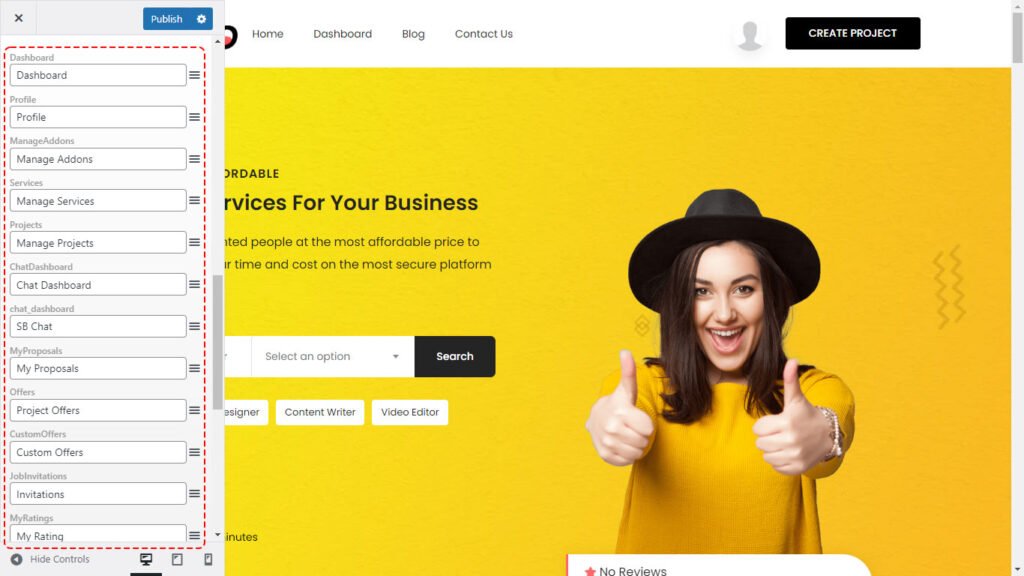
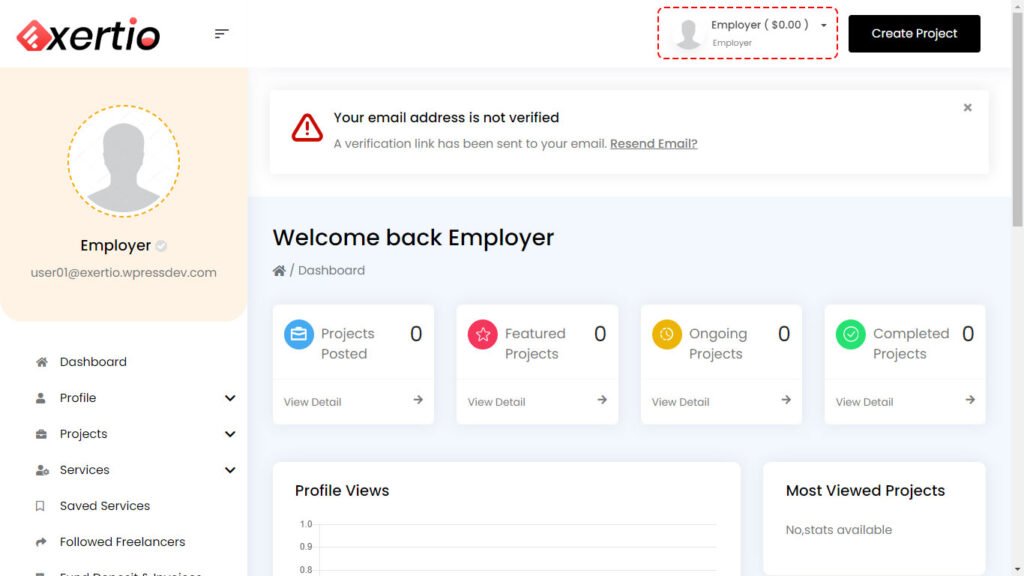
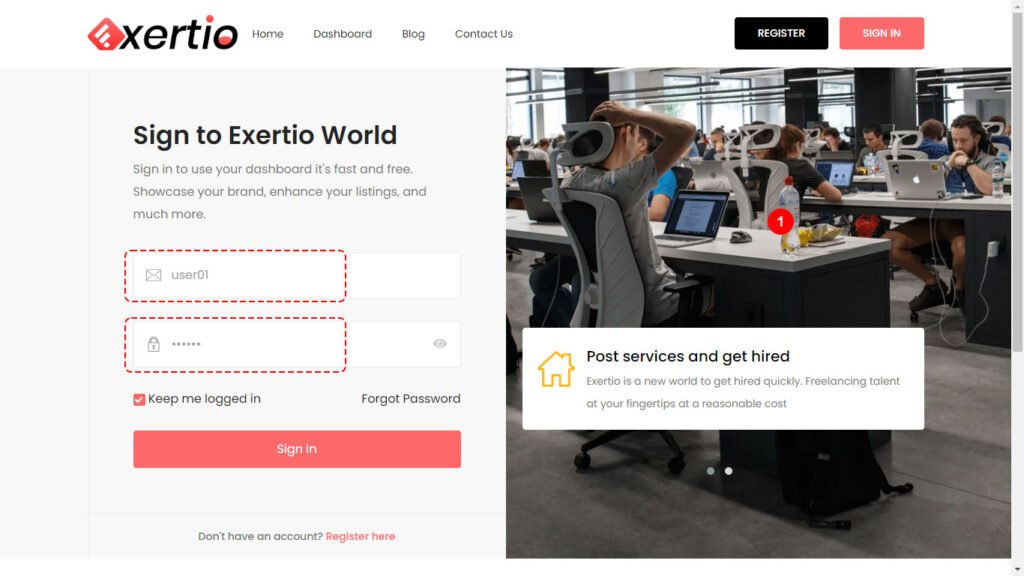
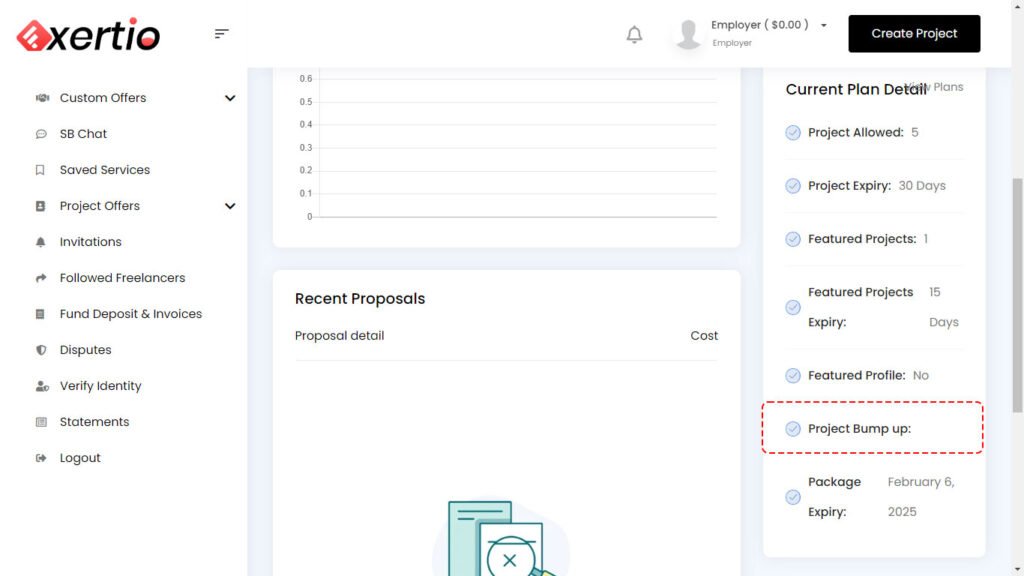
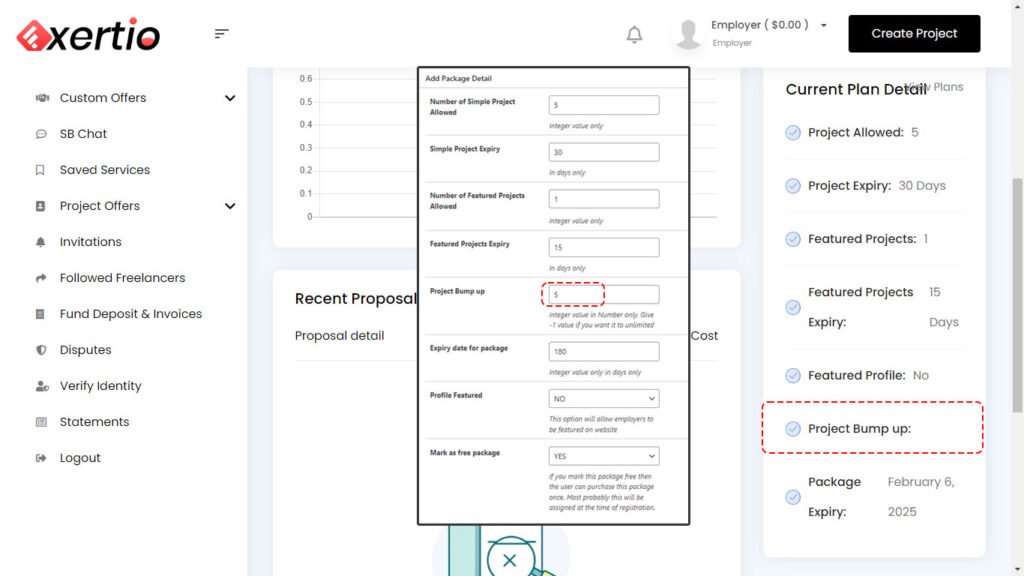
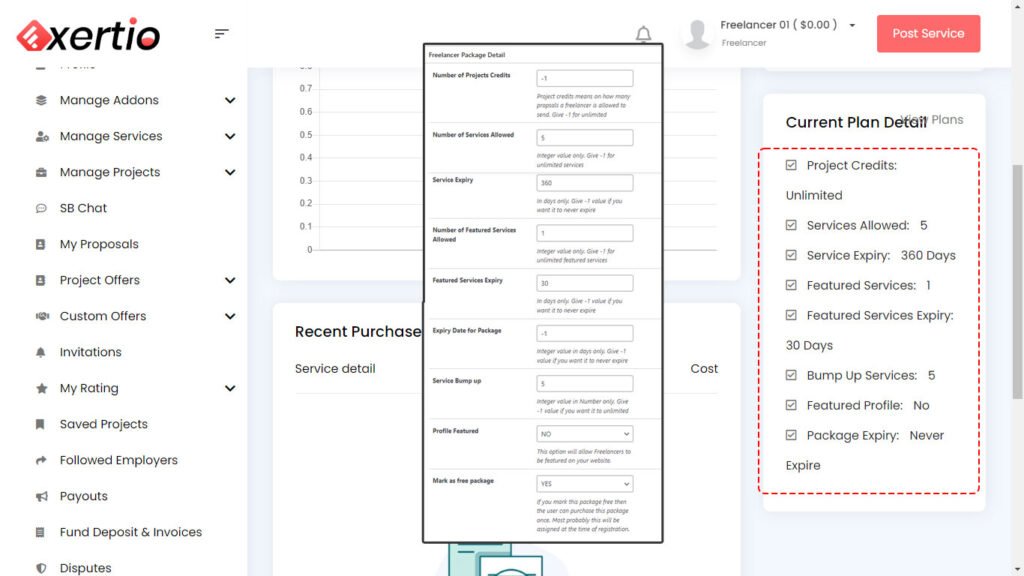
Lets dive into our first investigation. Let see the Employer and Freelancer dashboard when the user login.Login as Employer using user “user01“.
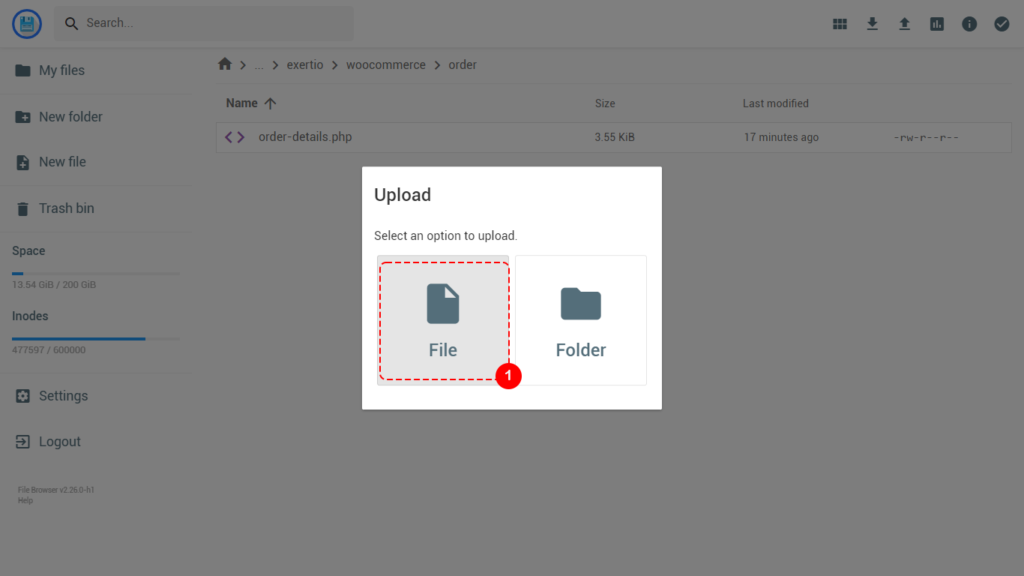
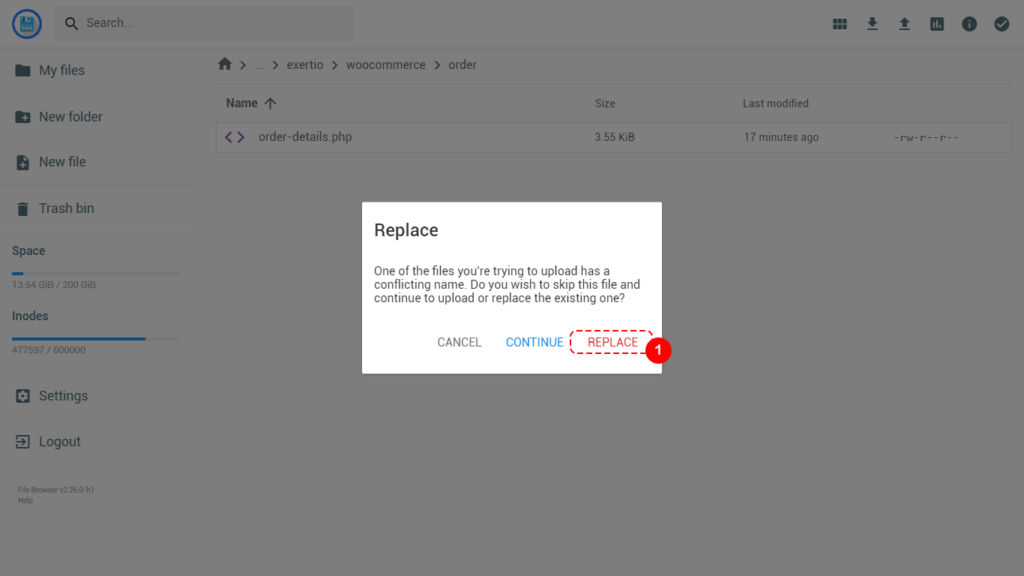
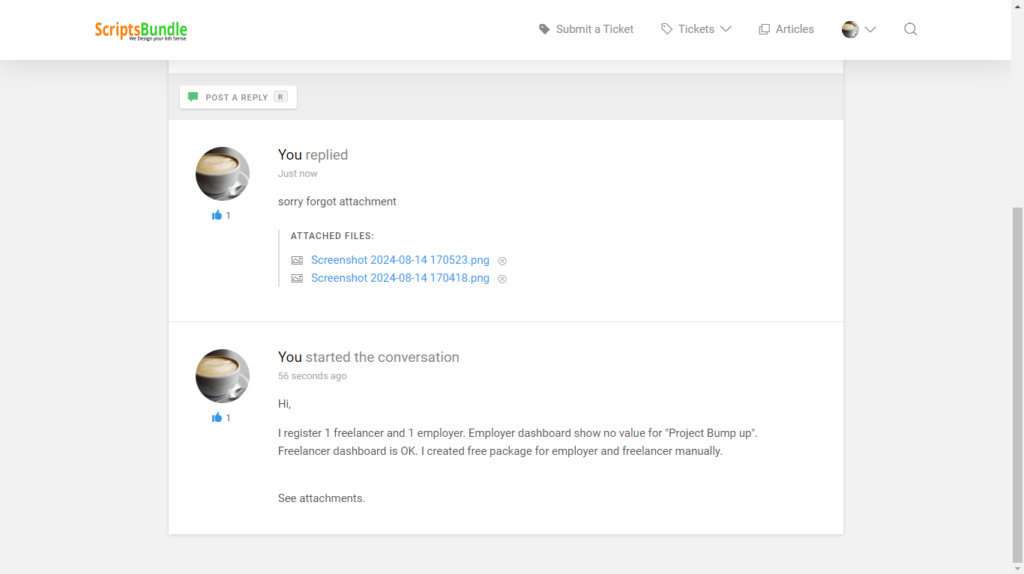
This Exertio theme version is 1.3.0 last updated on 24-May-2024. After reviewing the codes, I still could not locate the root of the issues. I must admit that I have limited understanding of the Exertio theme source code. I decided to submit a ticket to the author and wait for their reply. Afterall, this issue should have been fixed. It is hard to understand why the issue is still there. It could be introduced while the author updated the theme.
Below is the ticket submitted to the author.

Pingback: Exertio Theme Customization: Part 2 – PayPal & WooCommerce Configuration – M.Zaidi
Pingback: Exertio WordPress Theme Customization – M.Zaidi